
Andy Martin has rescued another stray: 1969 Triumph TR6
See Andy’s 2013/2014 1974 TR6 Rebuild Project HERE
Transmission Rebuild
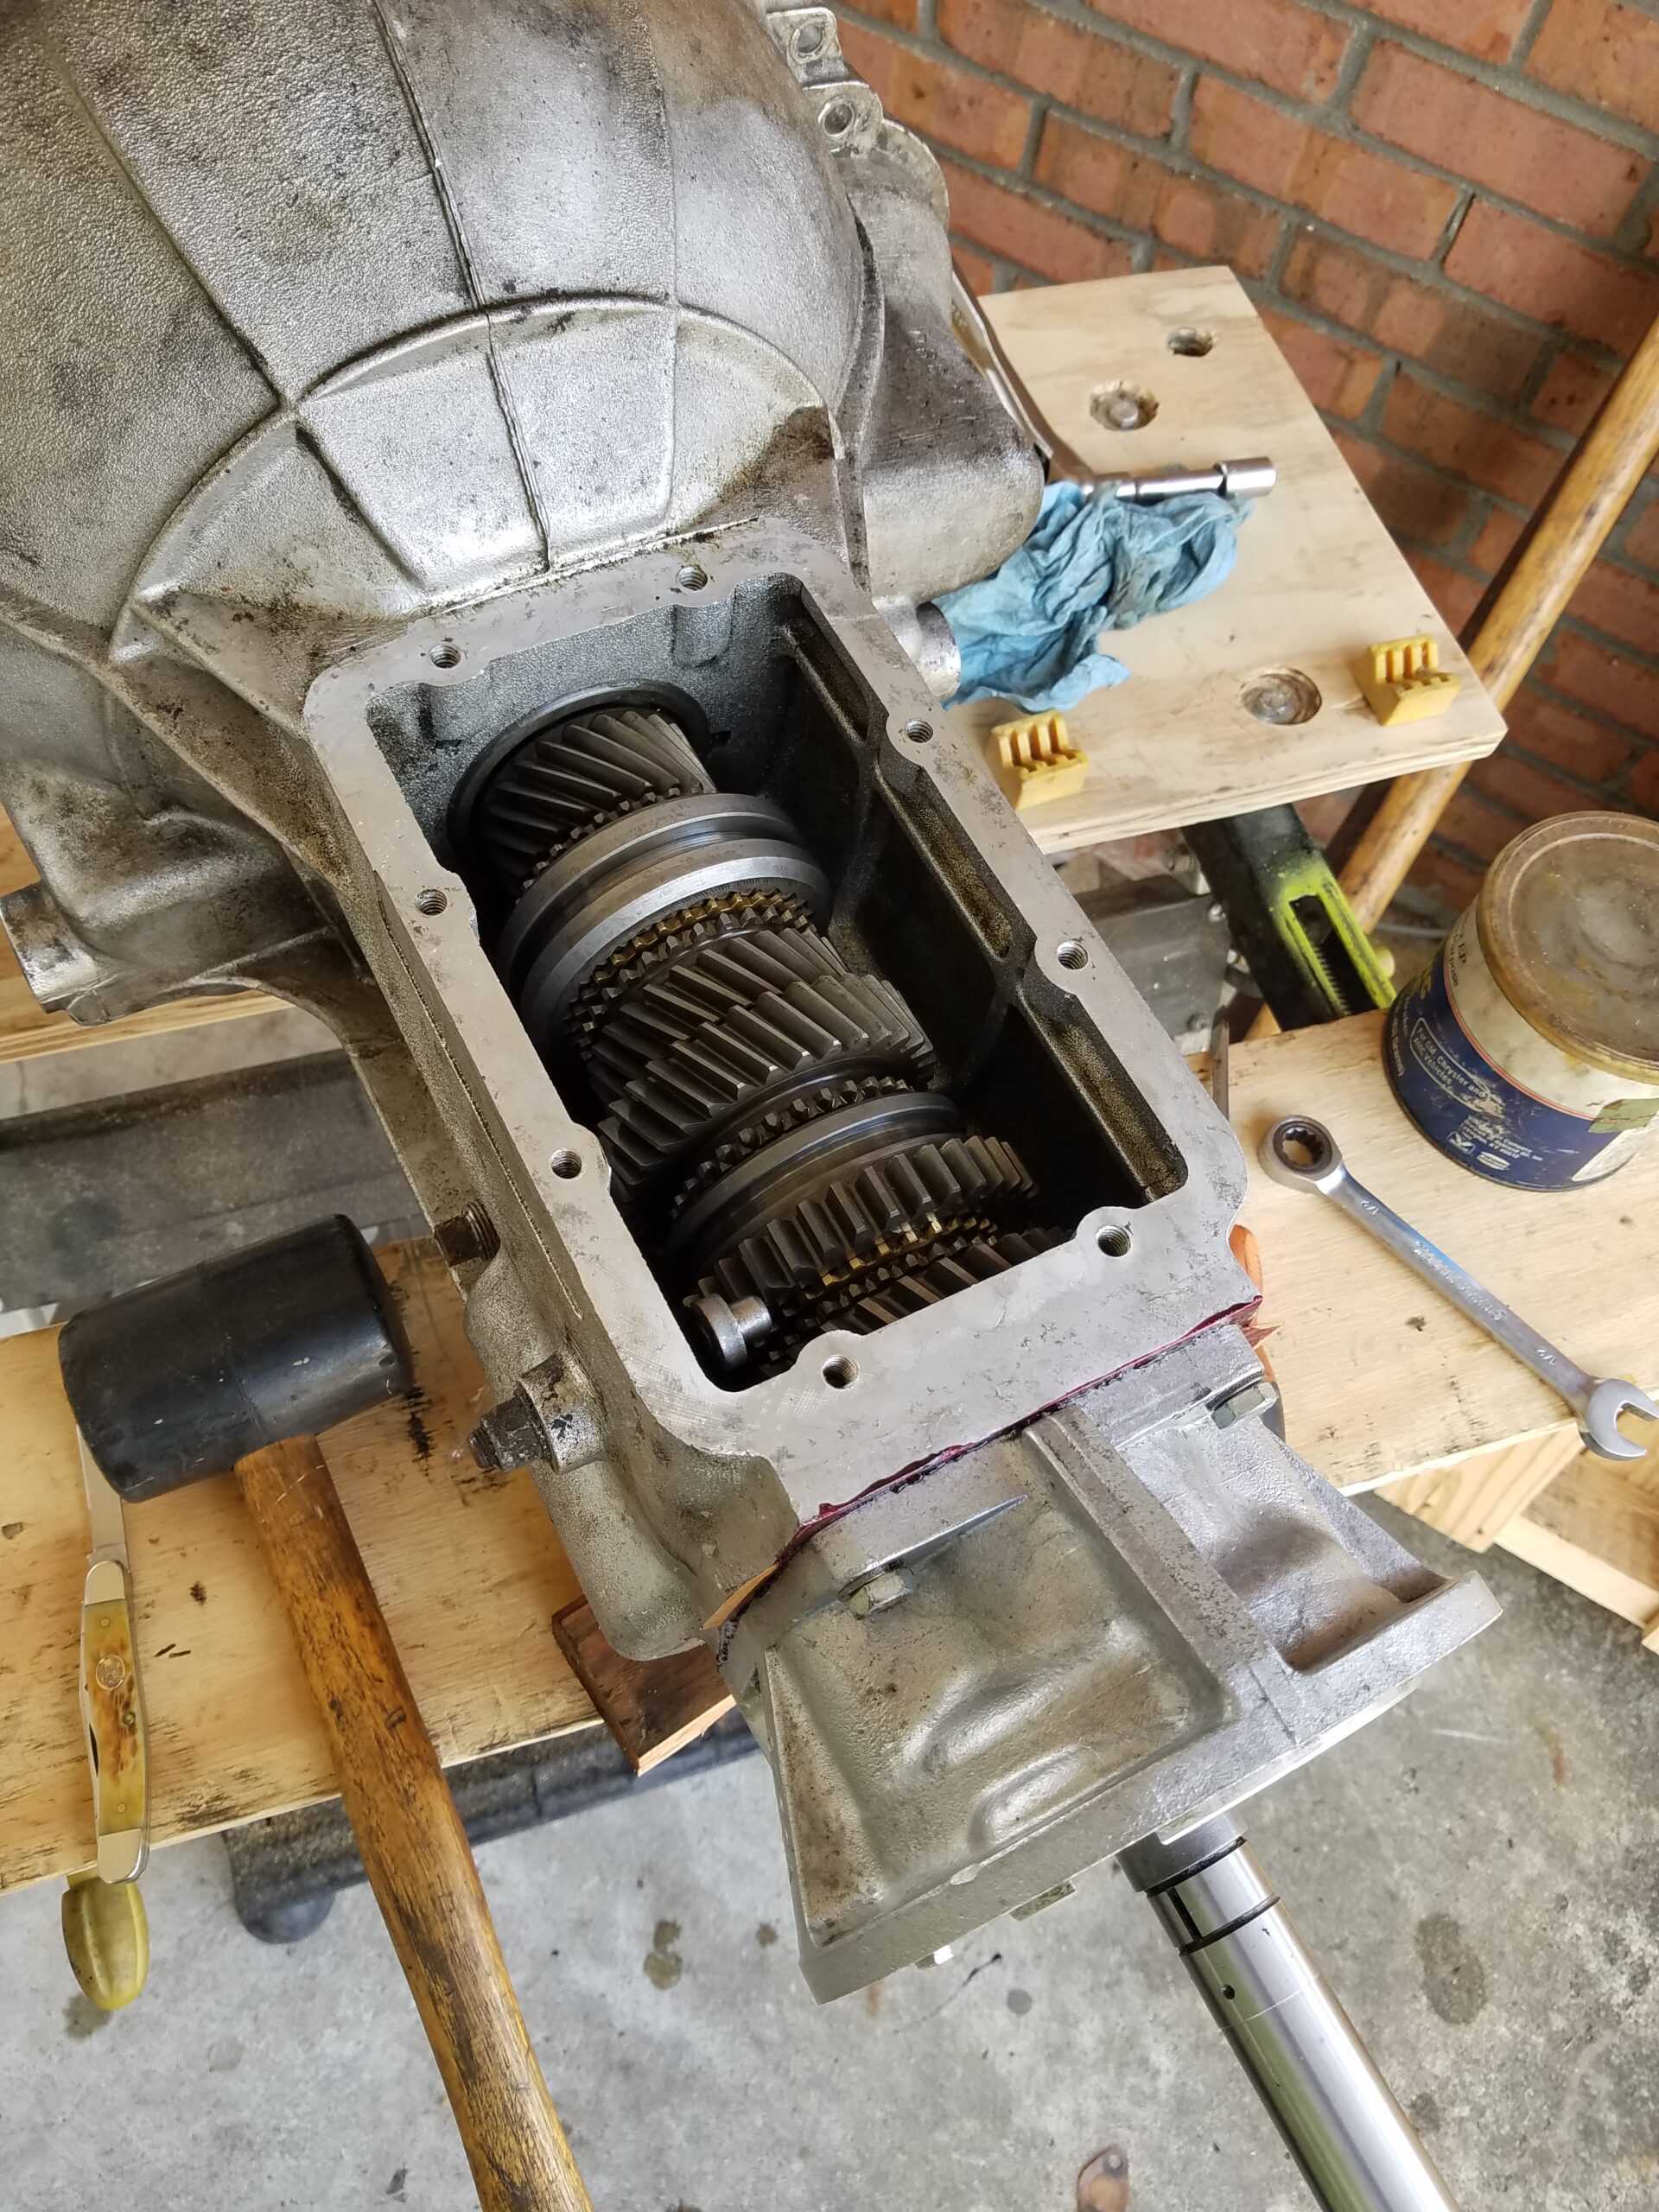
8/27/2020: Things are going well. Got the gearbox out last weekend and torn down. Good news is that all is in really good “nic”. Gears look new, synchros measure like new, even the counter shaft though discolored has no signs of galling. I have the gears already loaded onto the shorter OD output shaft and am cleaning up the J type overdrive and installing new seals while waiting on new countershaft bearings. Hopefully will be testing her out in early September.
 Andy , Sat, Sep 12 at 10:49 AM
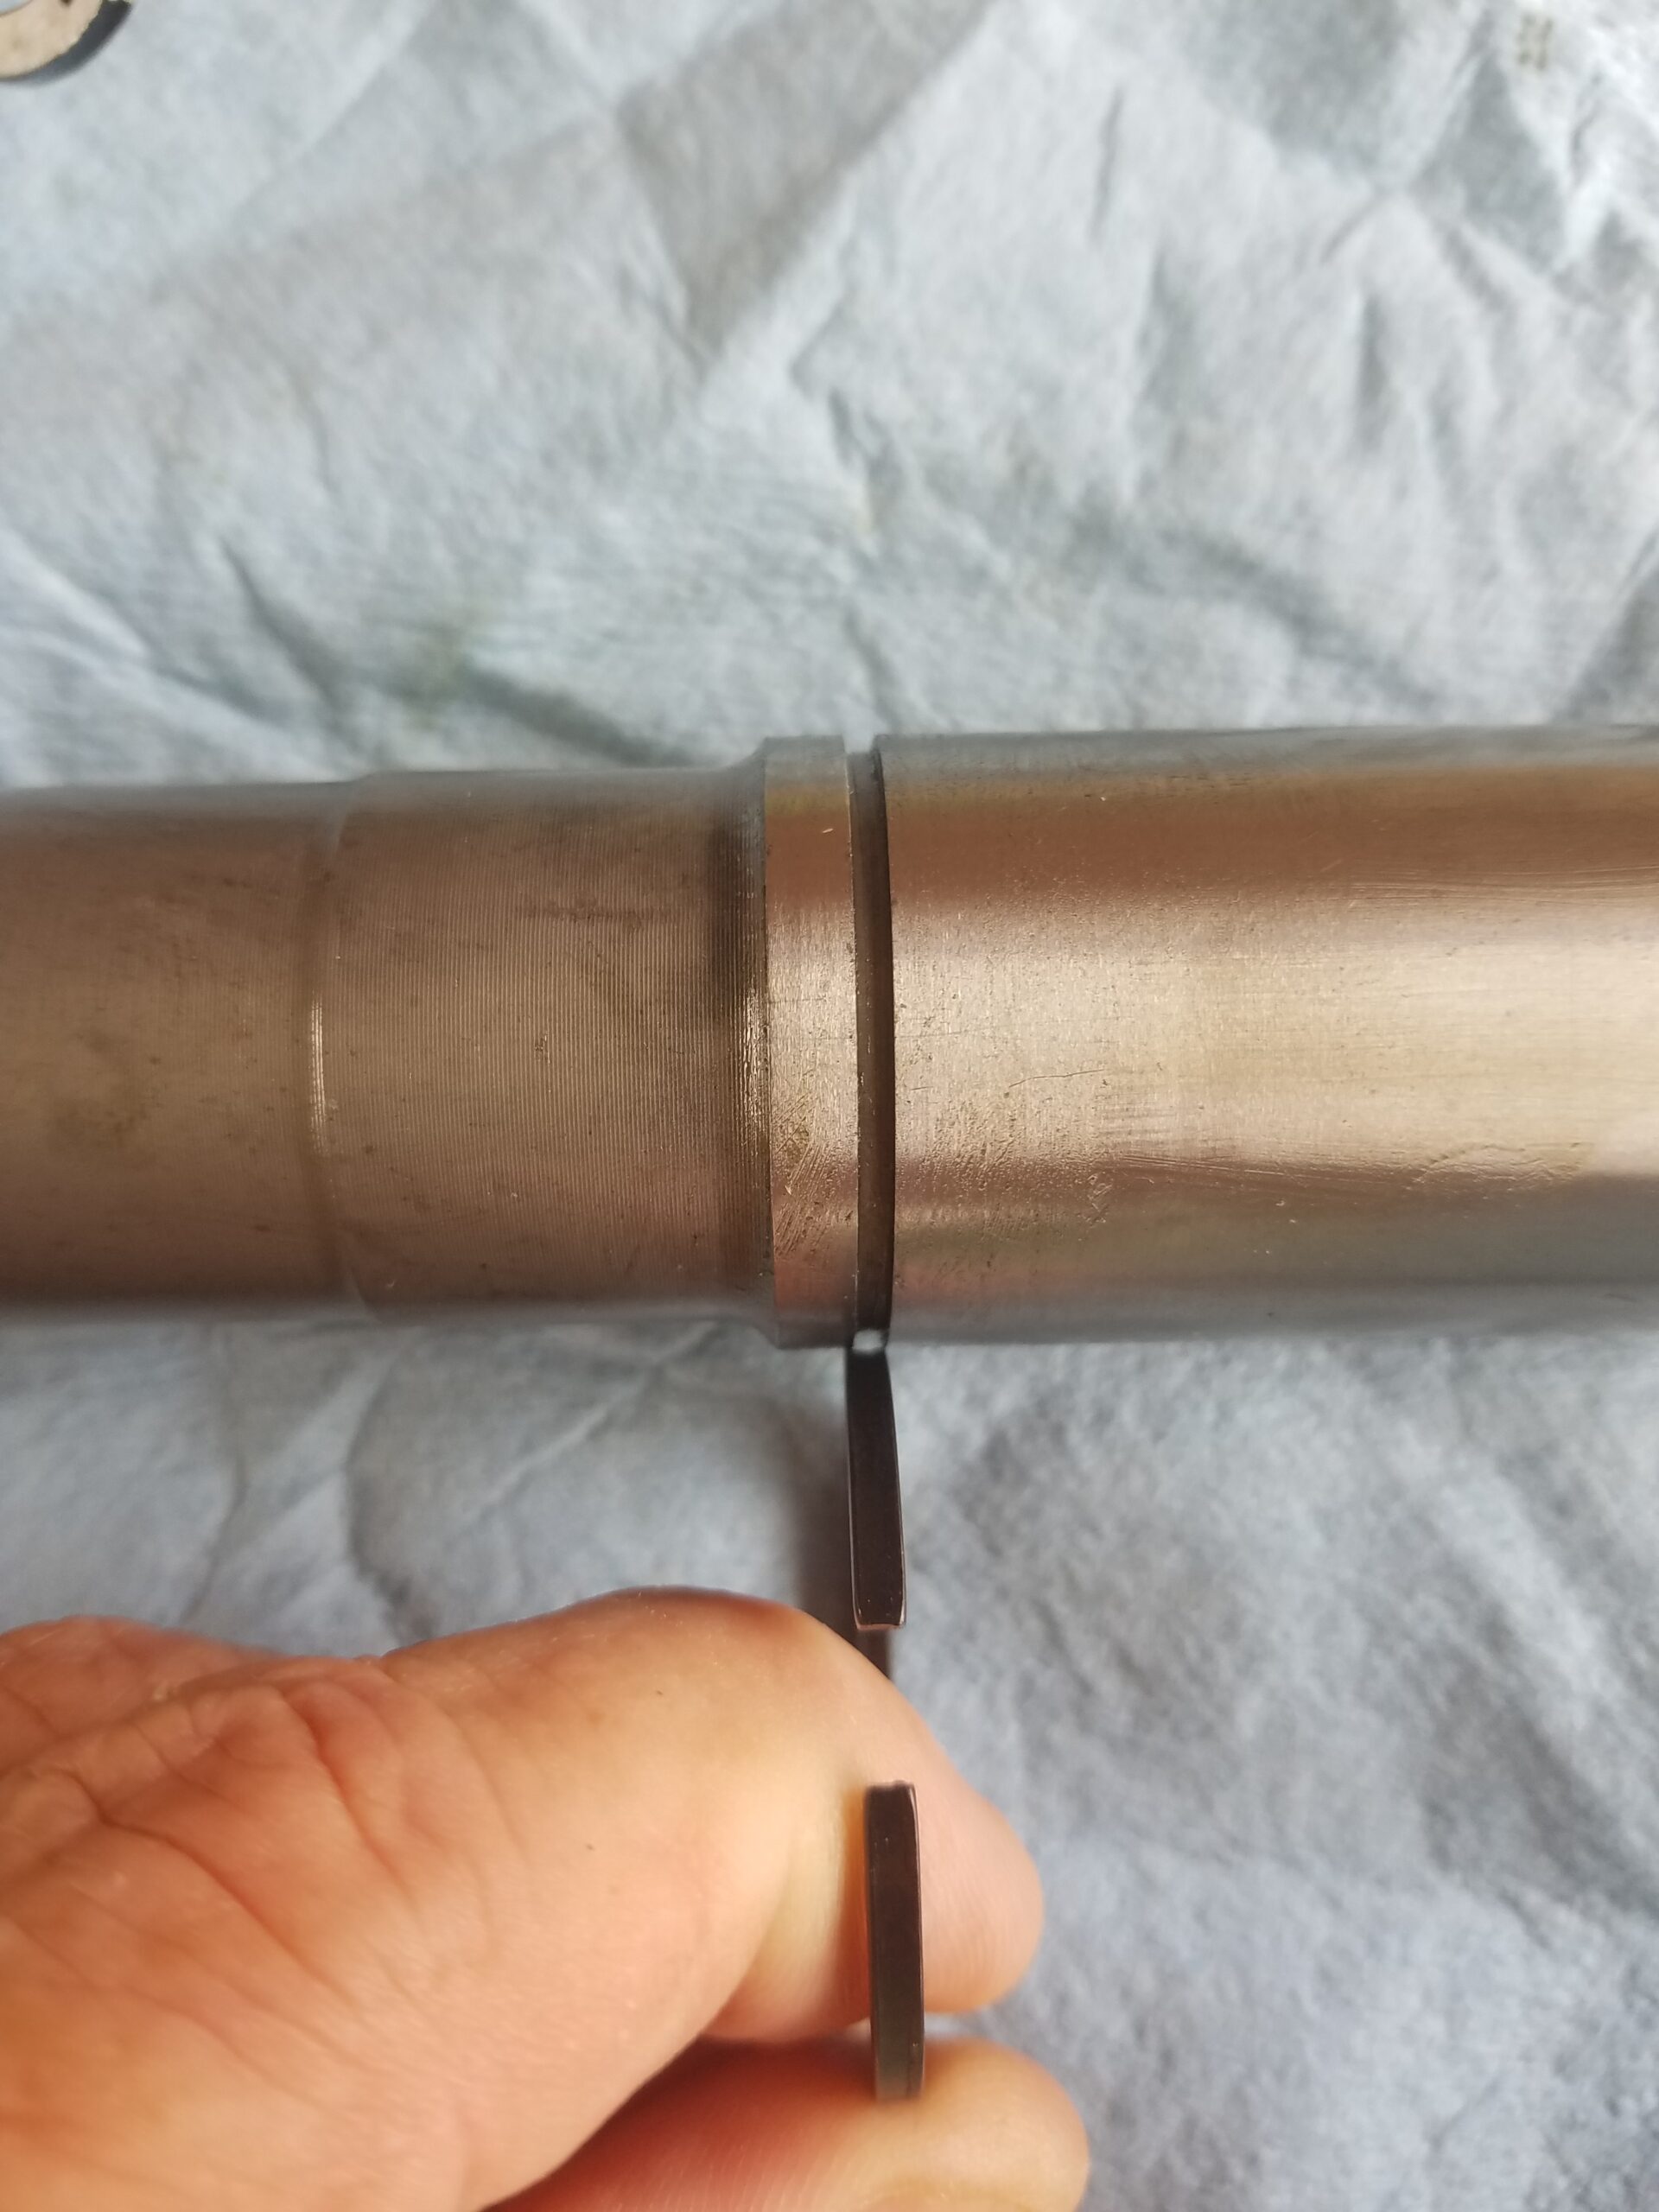
I guess I’m not all that surprised that I will need to sand / skinny this circlip in order for it to get in its slot. Ask me how I know? Because I already did this last week and assumed the circlip fitment was good enough, and proceeded to blow the clip out and crush a synchro 🙂
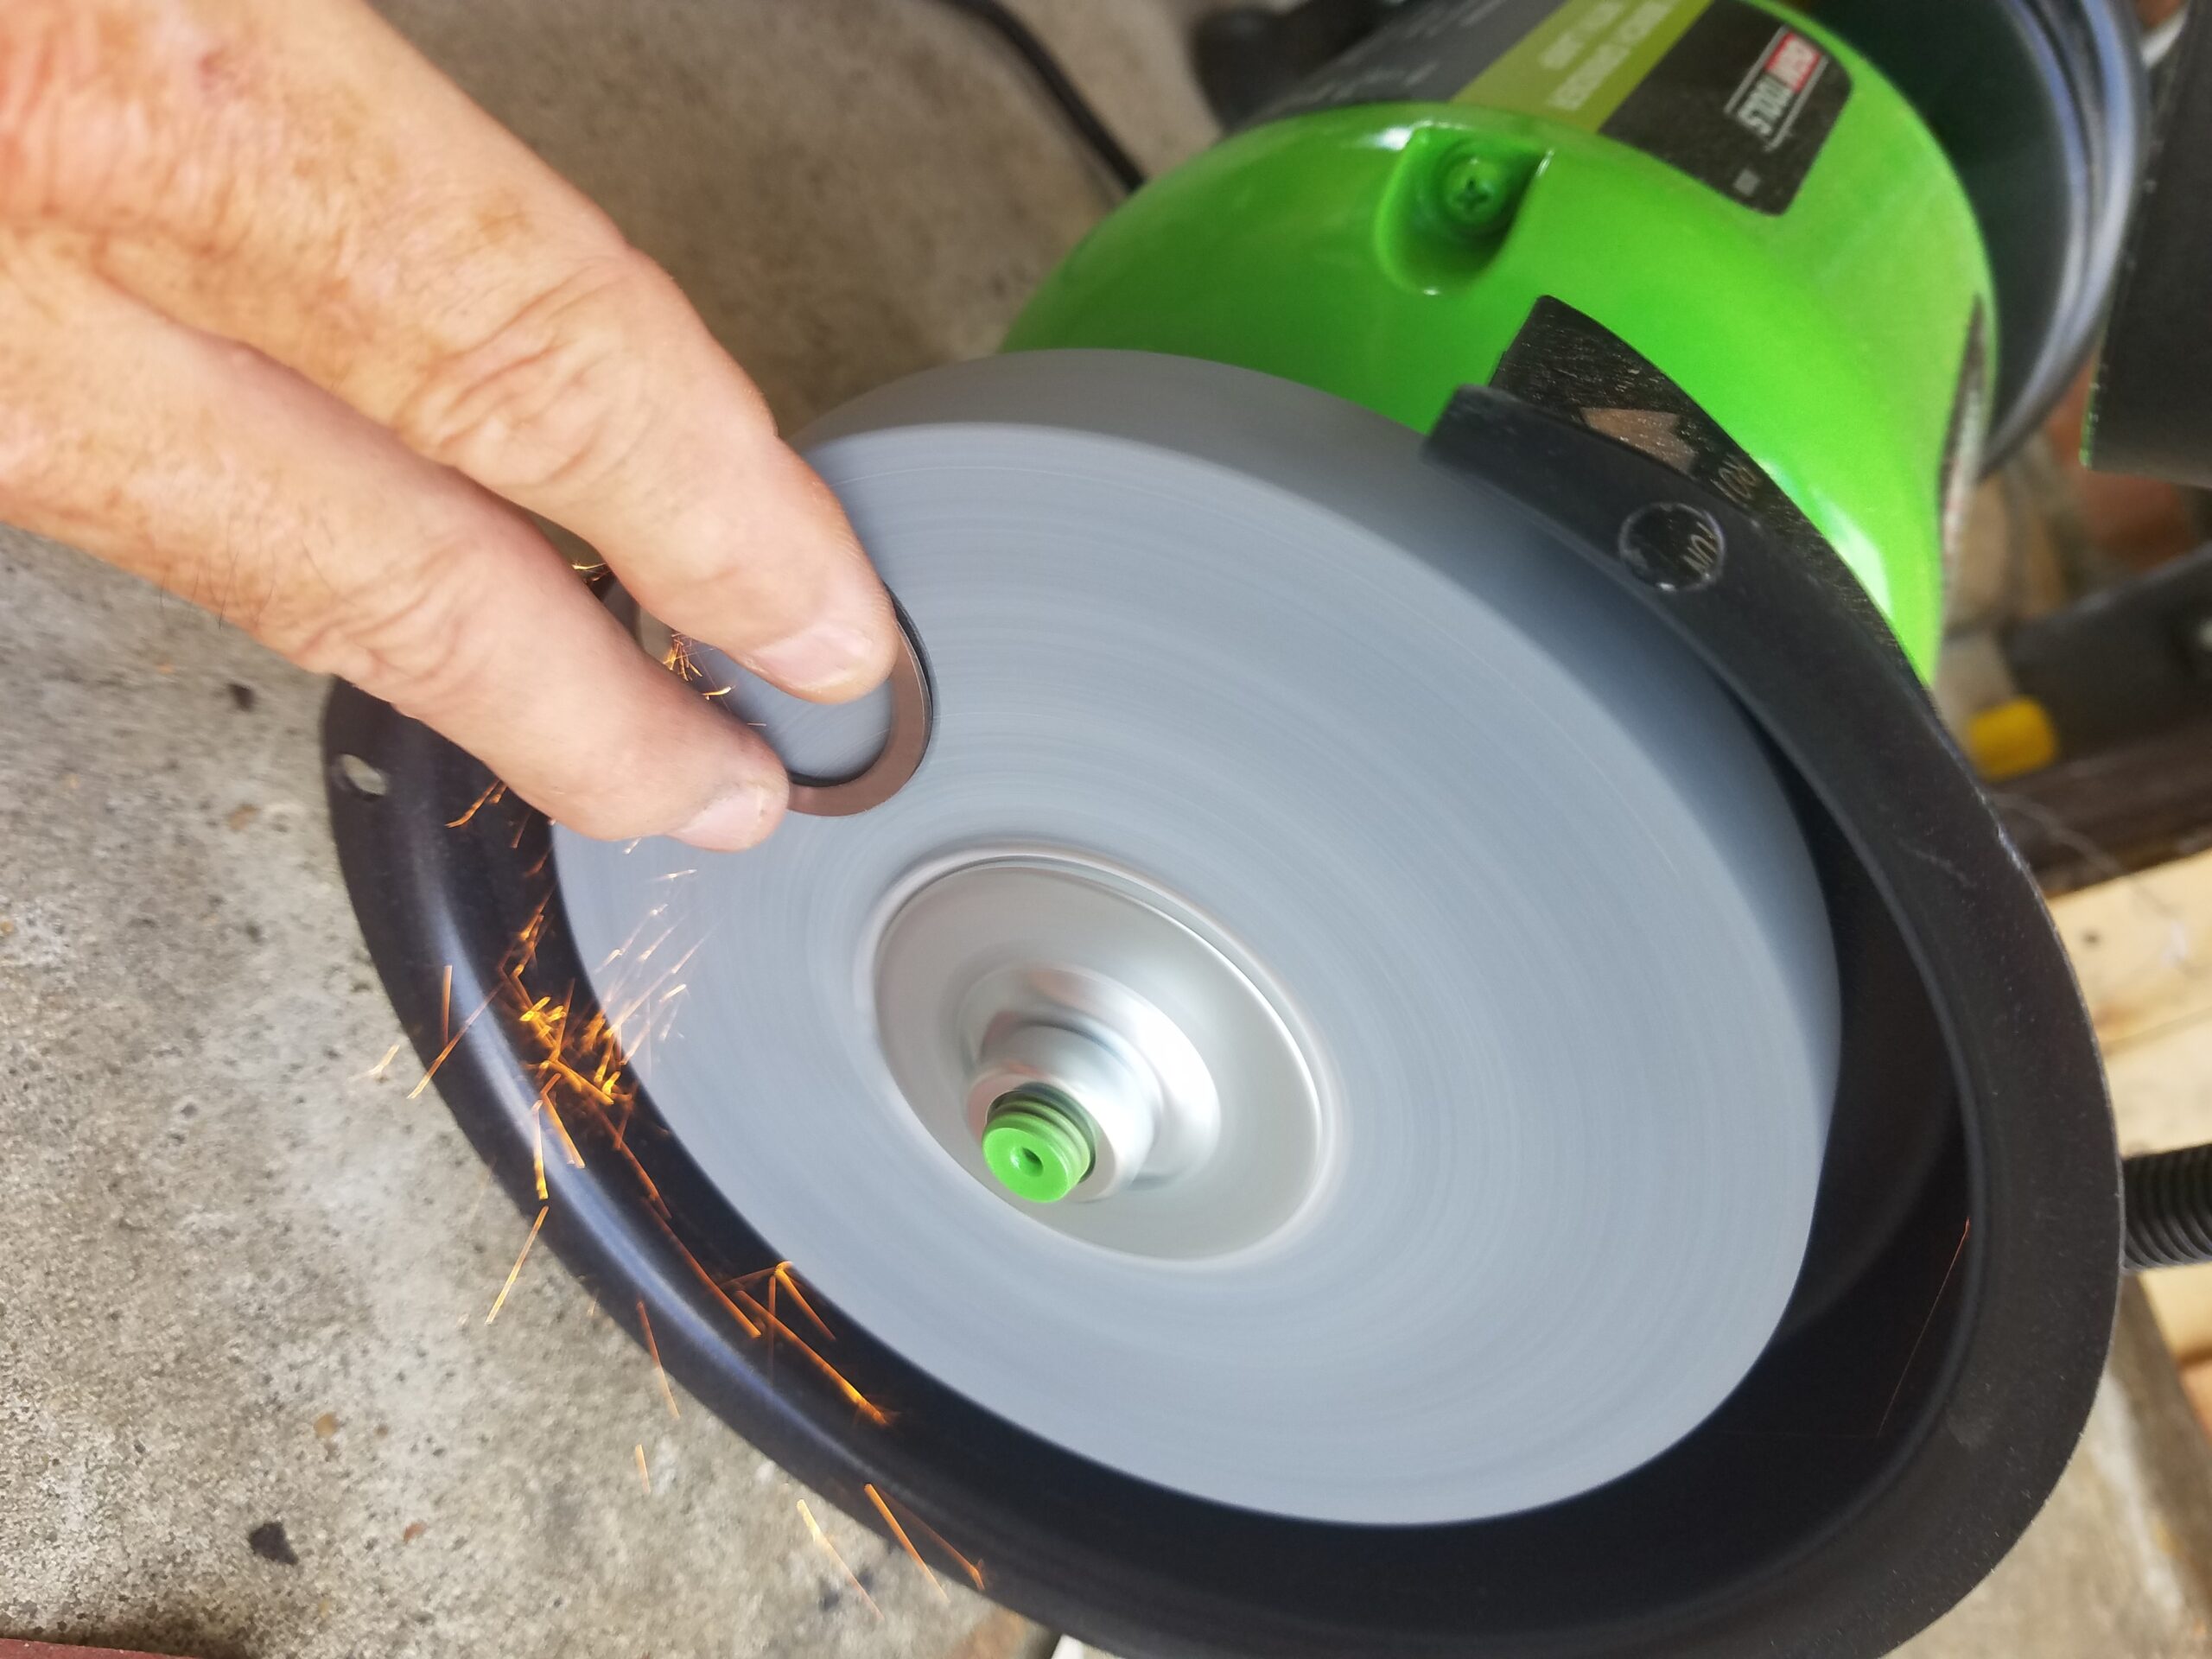
And after about an hour of this, she is now the perfect amount of skinny…
September 27, 2020: The tranny proper is back together and even has her OD adapter in place. Next is the J Type OD. Wish me luck, ask David, I will need it!
October 2, 2020: OD is finally all back together with all new o rings and its bastardized Triumph speedo threads. It mates up with the tranny in the morning. Still have to drill the top cover for the 3rd and 4th lockout switch, but my super sized bit and tap arrived today, so it’s on the agenda for tomorrow too.
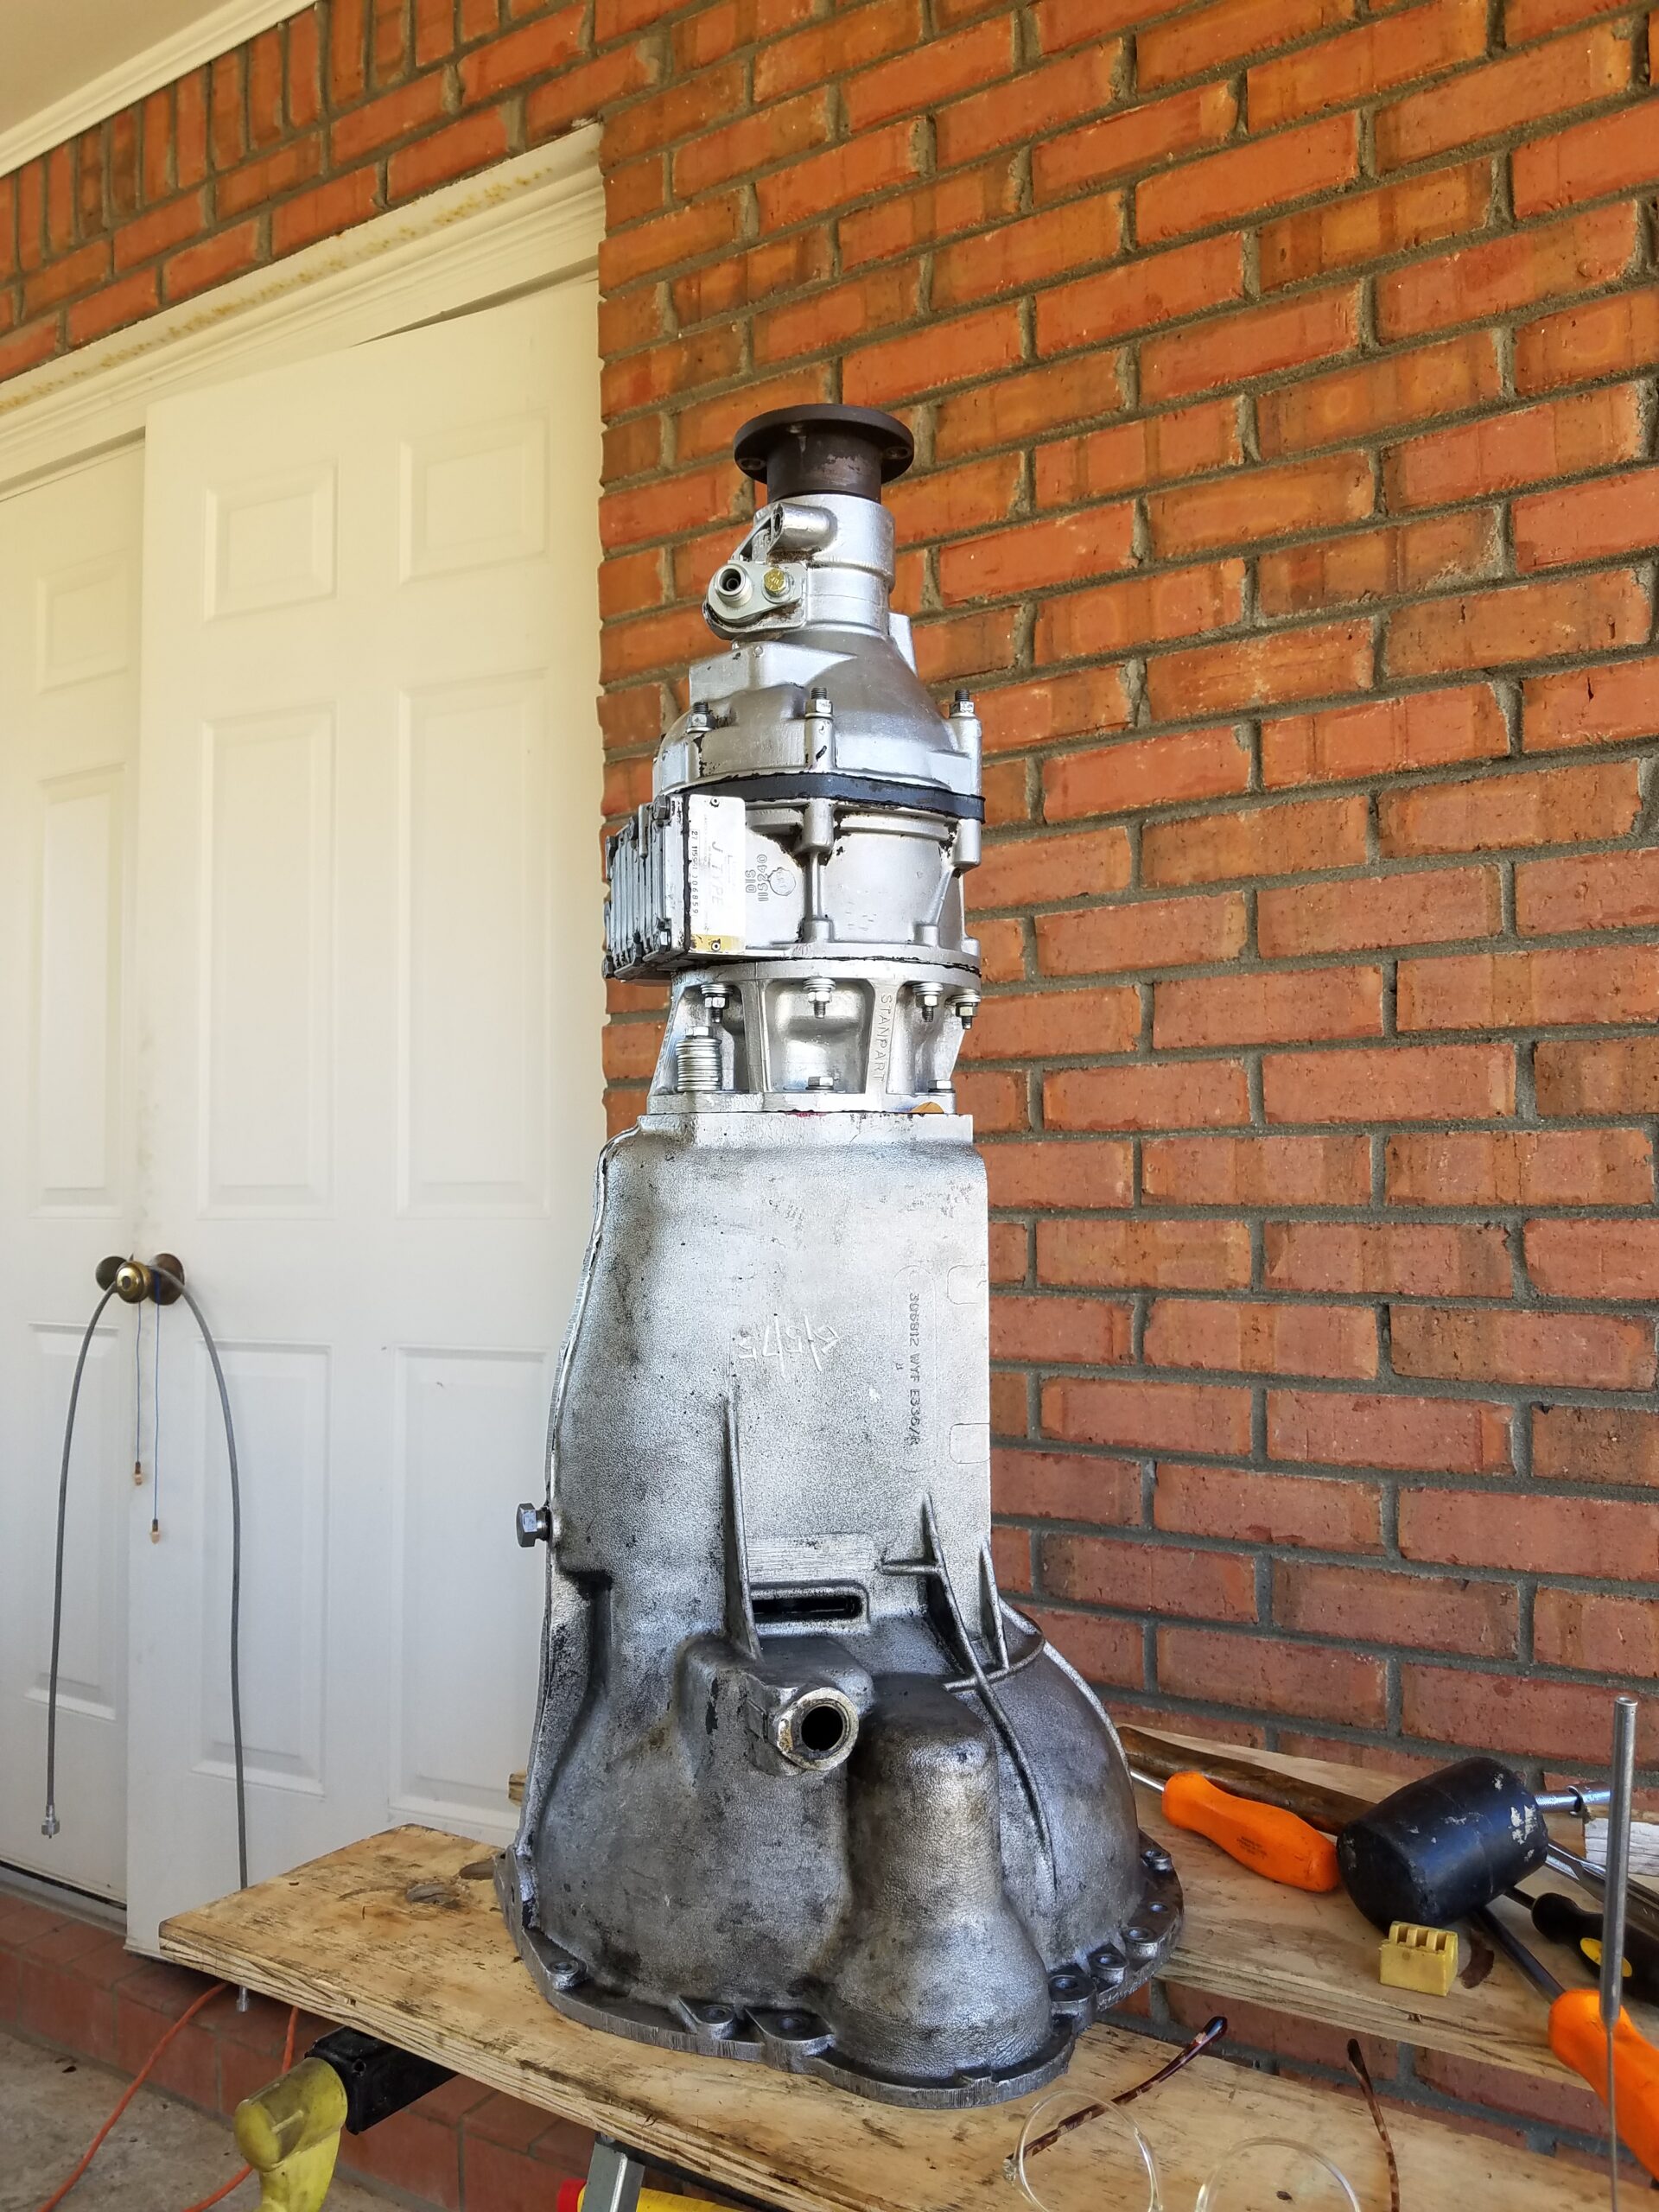
Mating the OD to tranny only took 5 hours. And I estimated one….
Top cover drilled and tapped and interlock switch installed. That sucked up 4 hours. Based on my progress, I doubt I will be testing the OD this weekend. Lucky if I can get the top cover put back together, that installed, tranny back in car and wire and installed the OD switch tomorrow. But soon!
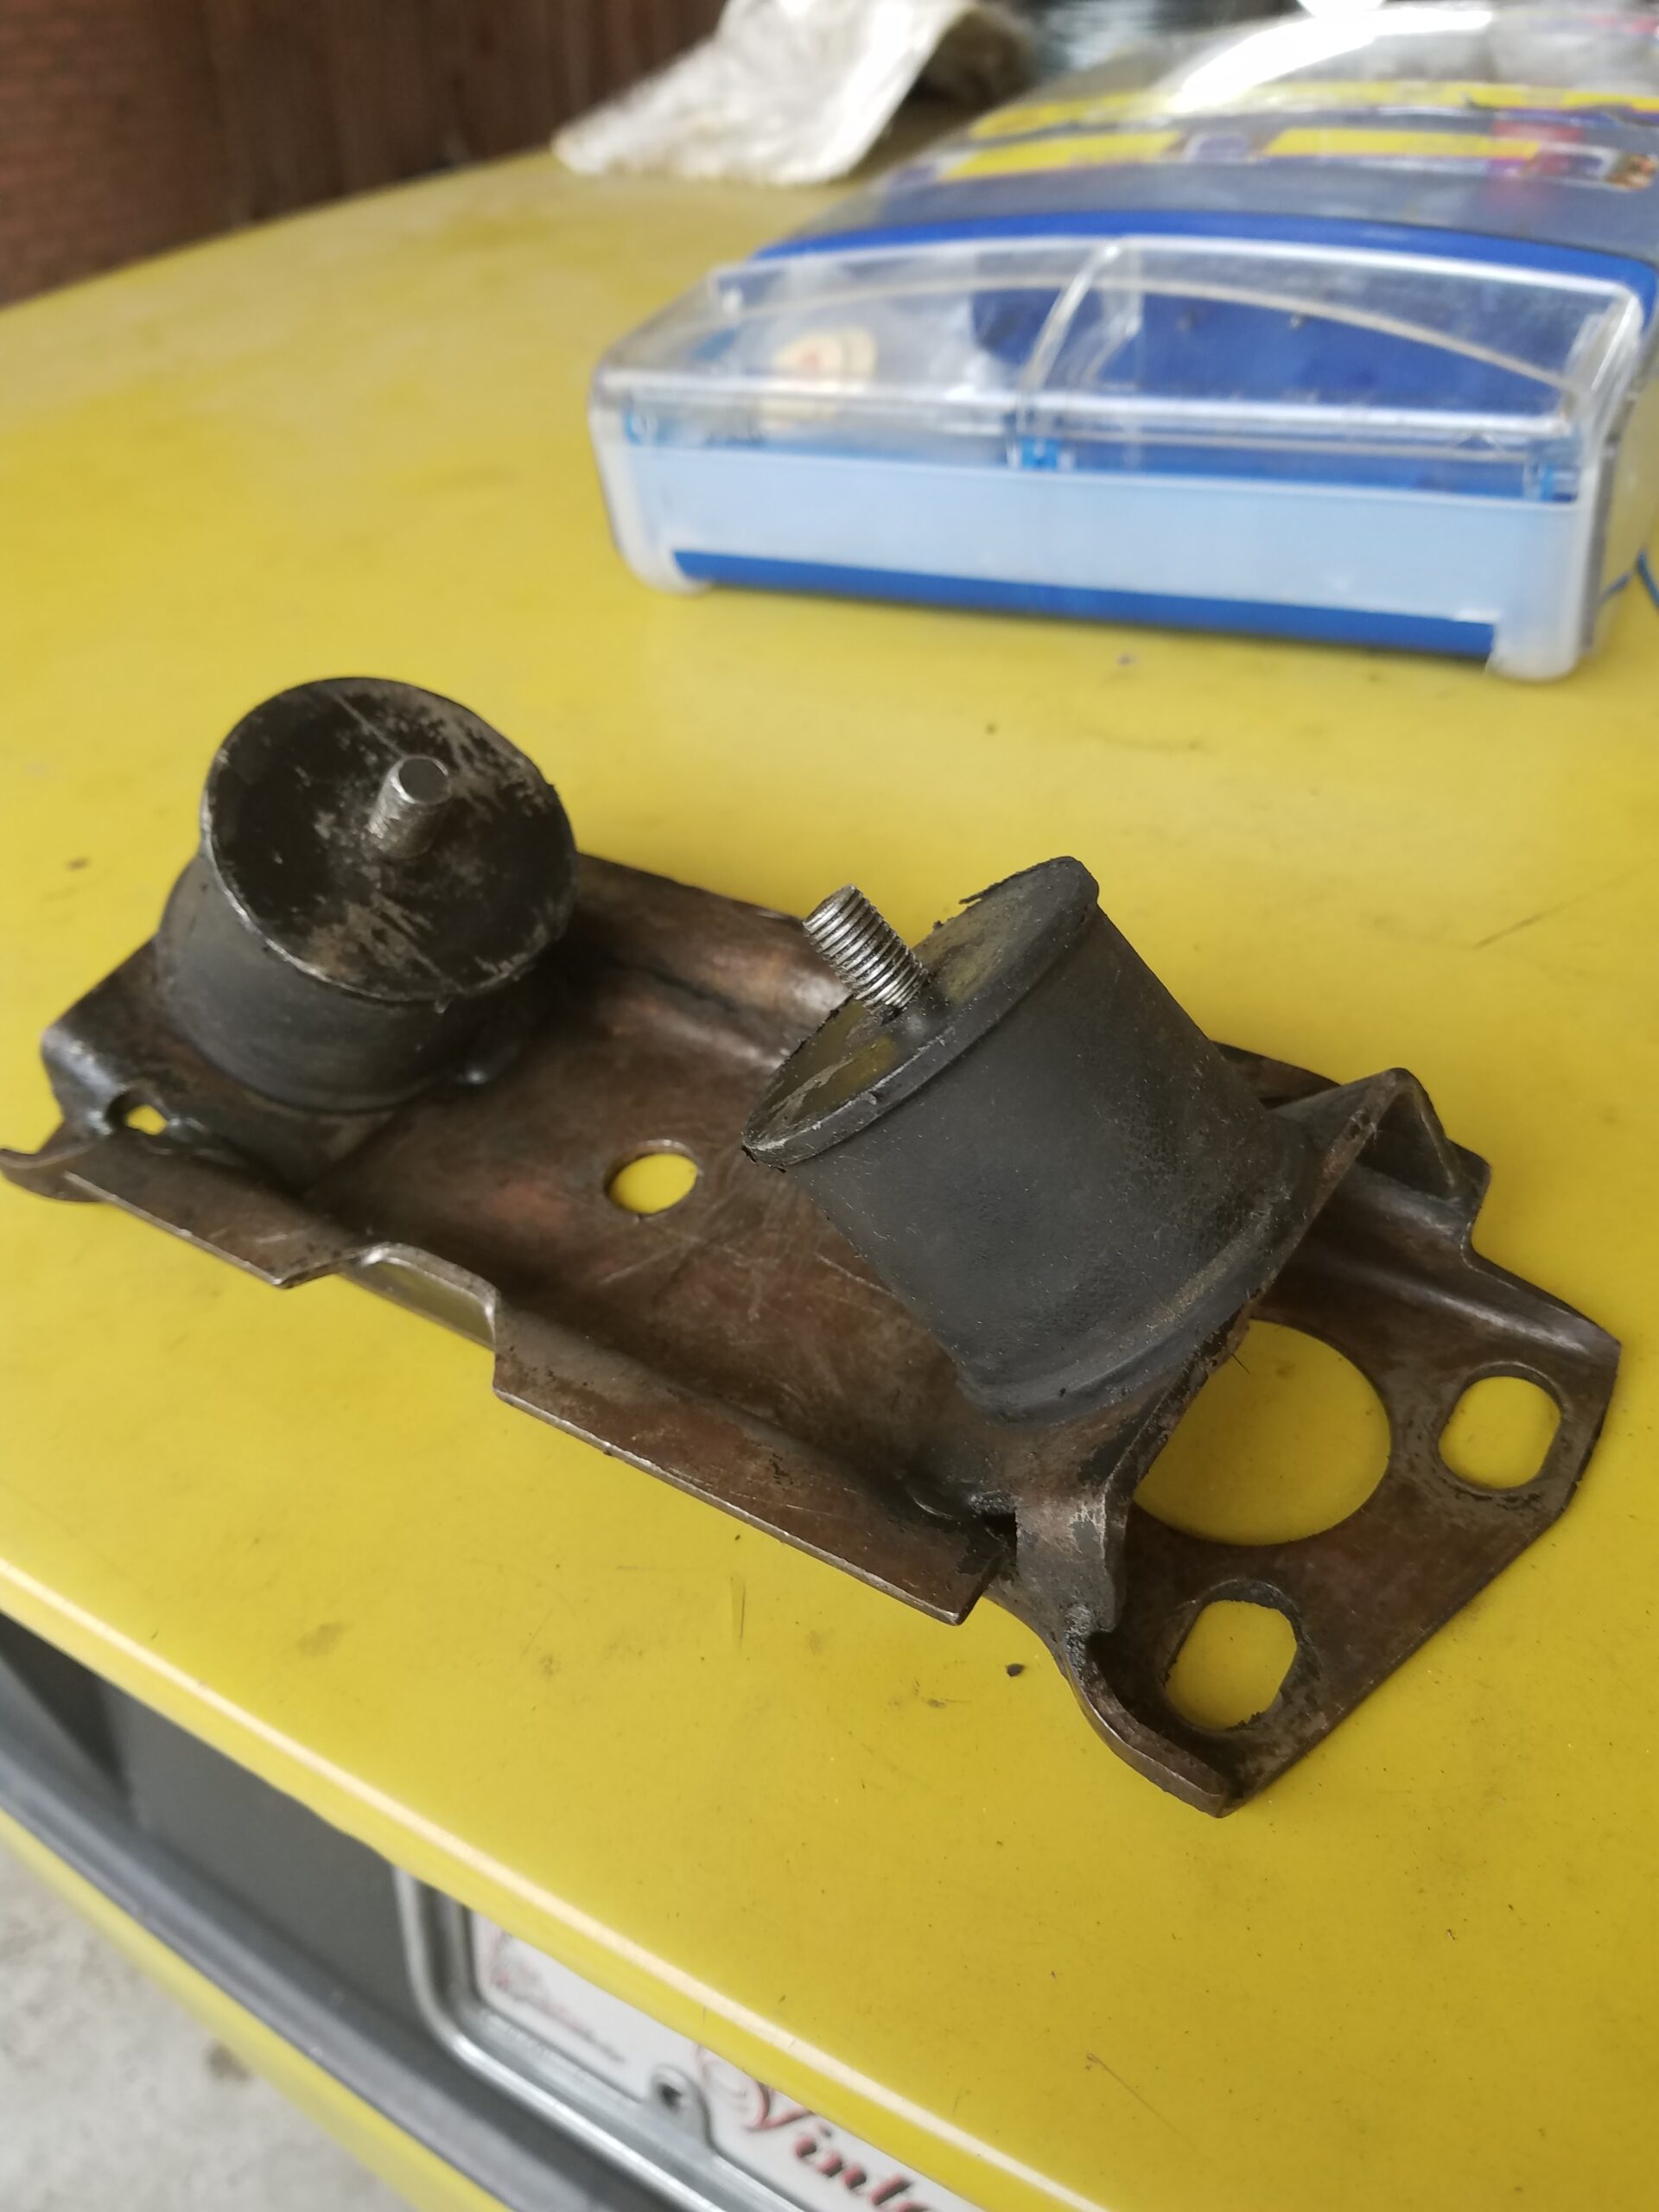
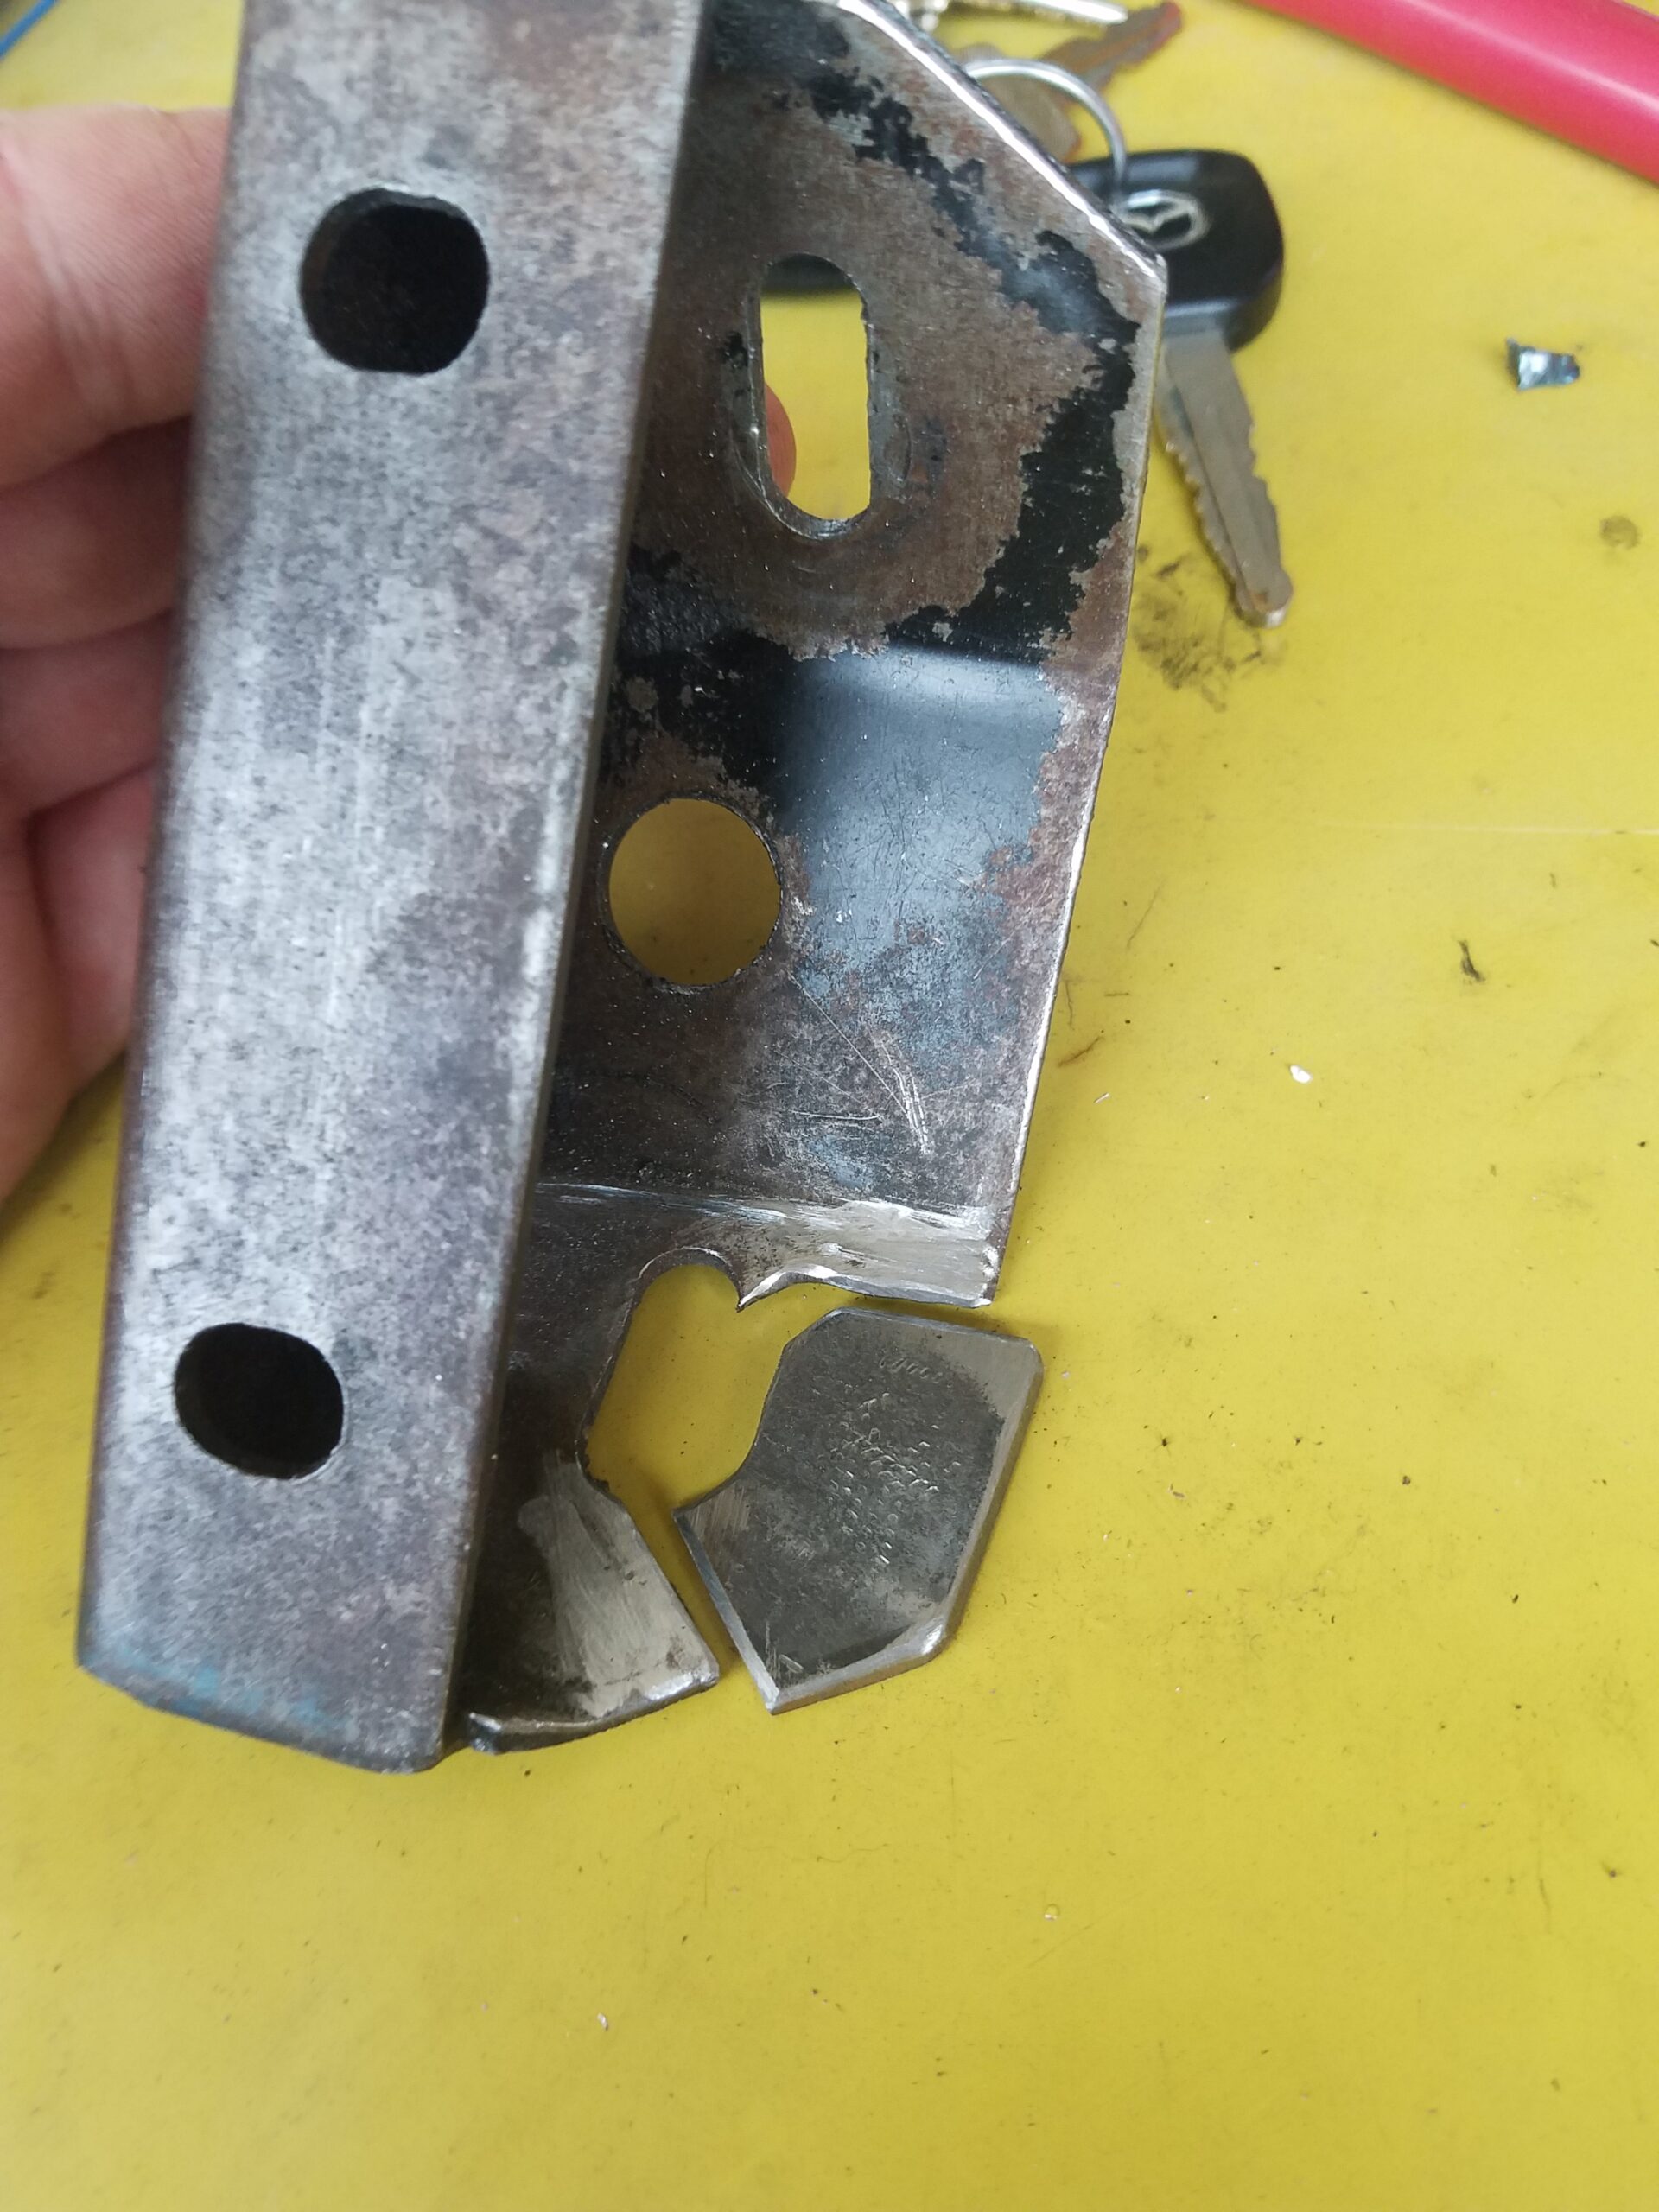
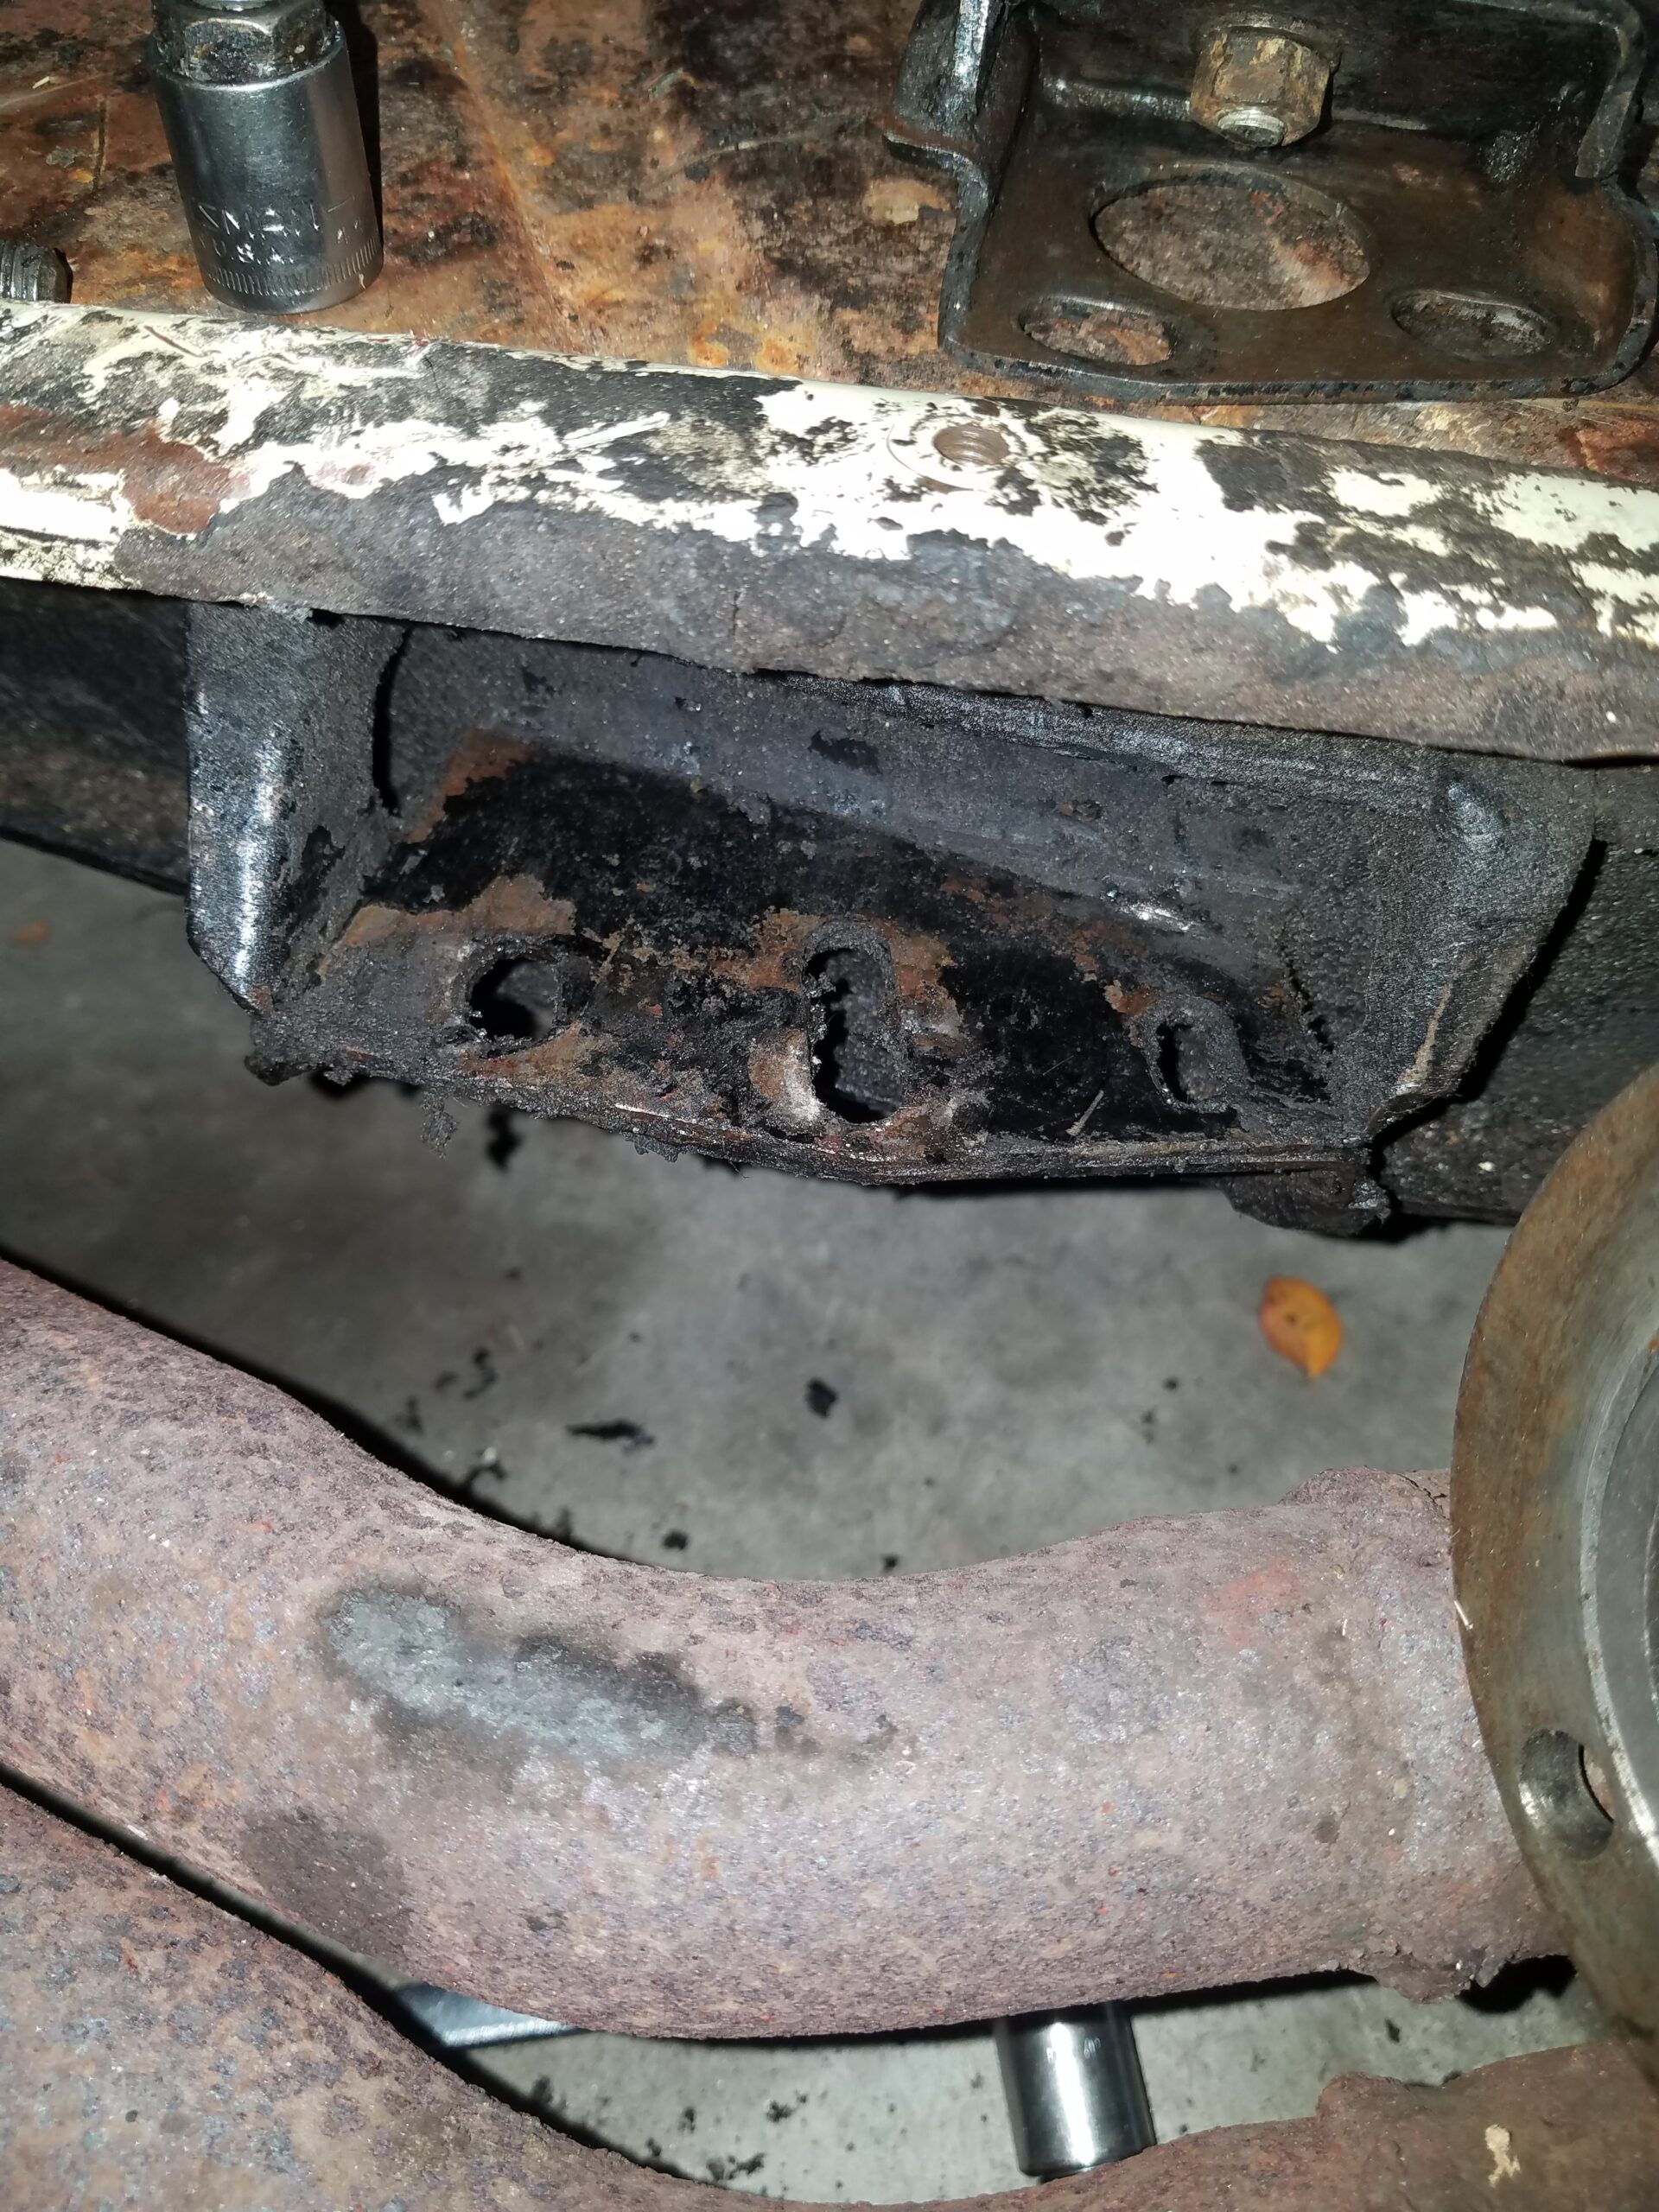
October 15, 2020: Mostly problems of my own making. I read that my rear tranny mount would work with the OD tranny. But it didn’t align. So I took to trying to fashion what I had to work. Big mistake. See the first picture. After looking deeper at what was there, turns out the lower mount is adjustable. And simply needed to be moved back. See pics number 2 and 3. So now….. I’m working on re-welding what I fashioned, because it wouldn’t work anyway. Hopefully its done tomorrow. And with some of that down time, I had a badly worn and chipped mahogany shift knob. And in either some of Hamer’s stuff or Ron Pardo’s stuff, I found a beautiful enamel TR badge in blue silver and white. So I sanded down the knob, and used a Dremel stone to widen the knob insert to take it. Wish I had taken some before photos because it’s night and day. See the last pic. So once again, I hope it’s this weekend I will finally be testing the OD tranny in the car. Finger crossed!
I started on August 22nd, so it took me right at 2 months to get to this point. High level steps included:
October 19, 2020
We have lift off! Sort of….. 7 seconds of glory. I got the electrical sorted after work today (yes, simply a loose + terminal), and got the 6 to crank. I was excited to test her out. Of course, every stop light was red, every blue haired granny in Montgomery was in my path — so it was 15 minutes of driving before I could get to a spot with enough road and up to 4th gear to test it. 4th gear — hit the switch and almost immediately, RPMs drop nearly 1,000 — success! So I flipped it off quickly — because you know, another granny turning left from the far right lane — or whatever. Got around her, and back up to speed, hit the switch again, and almost immediately, RPMs drop — and for 7 seconds — wow….. Then I don’t know what happened for sure, but I think the moron that installed it jacked something up with the solenoid install and it was spraying me down pretty good with warm Hypoid. No, I didn’t have the patience to put the tranny cover on before testing it. So I flipped the OD back off and it stopped spraying — and we (Josephine and I) limped back home.
Never mind the very last part, I tore the tranny completely down and didn’t screw that up, and actually installed an OD and got it to work first try. Thanks for following along in the adventure….
Andy
October 20, 2020
 Looks like I may have an alignment problem, blew an o-ring.
October 27, 2020
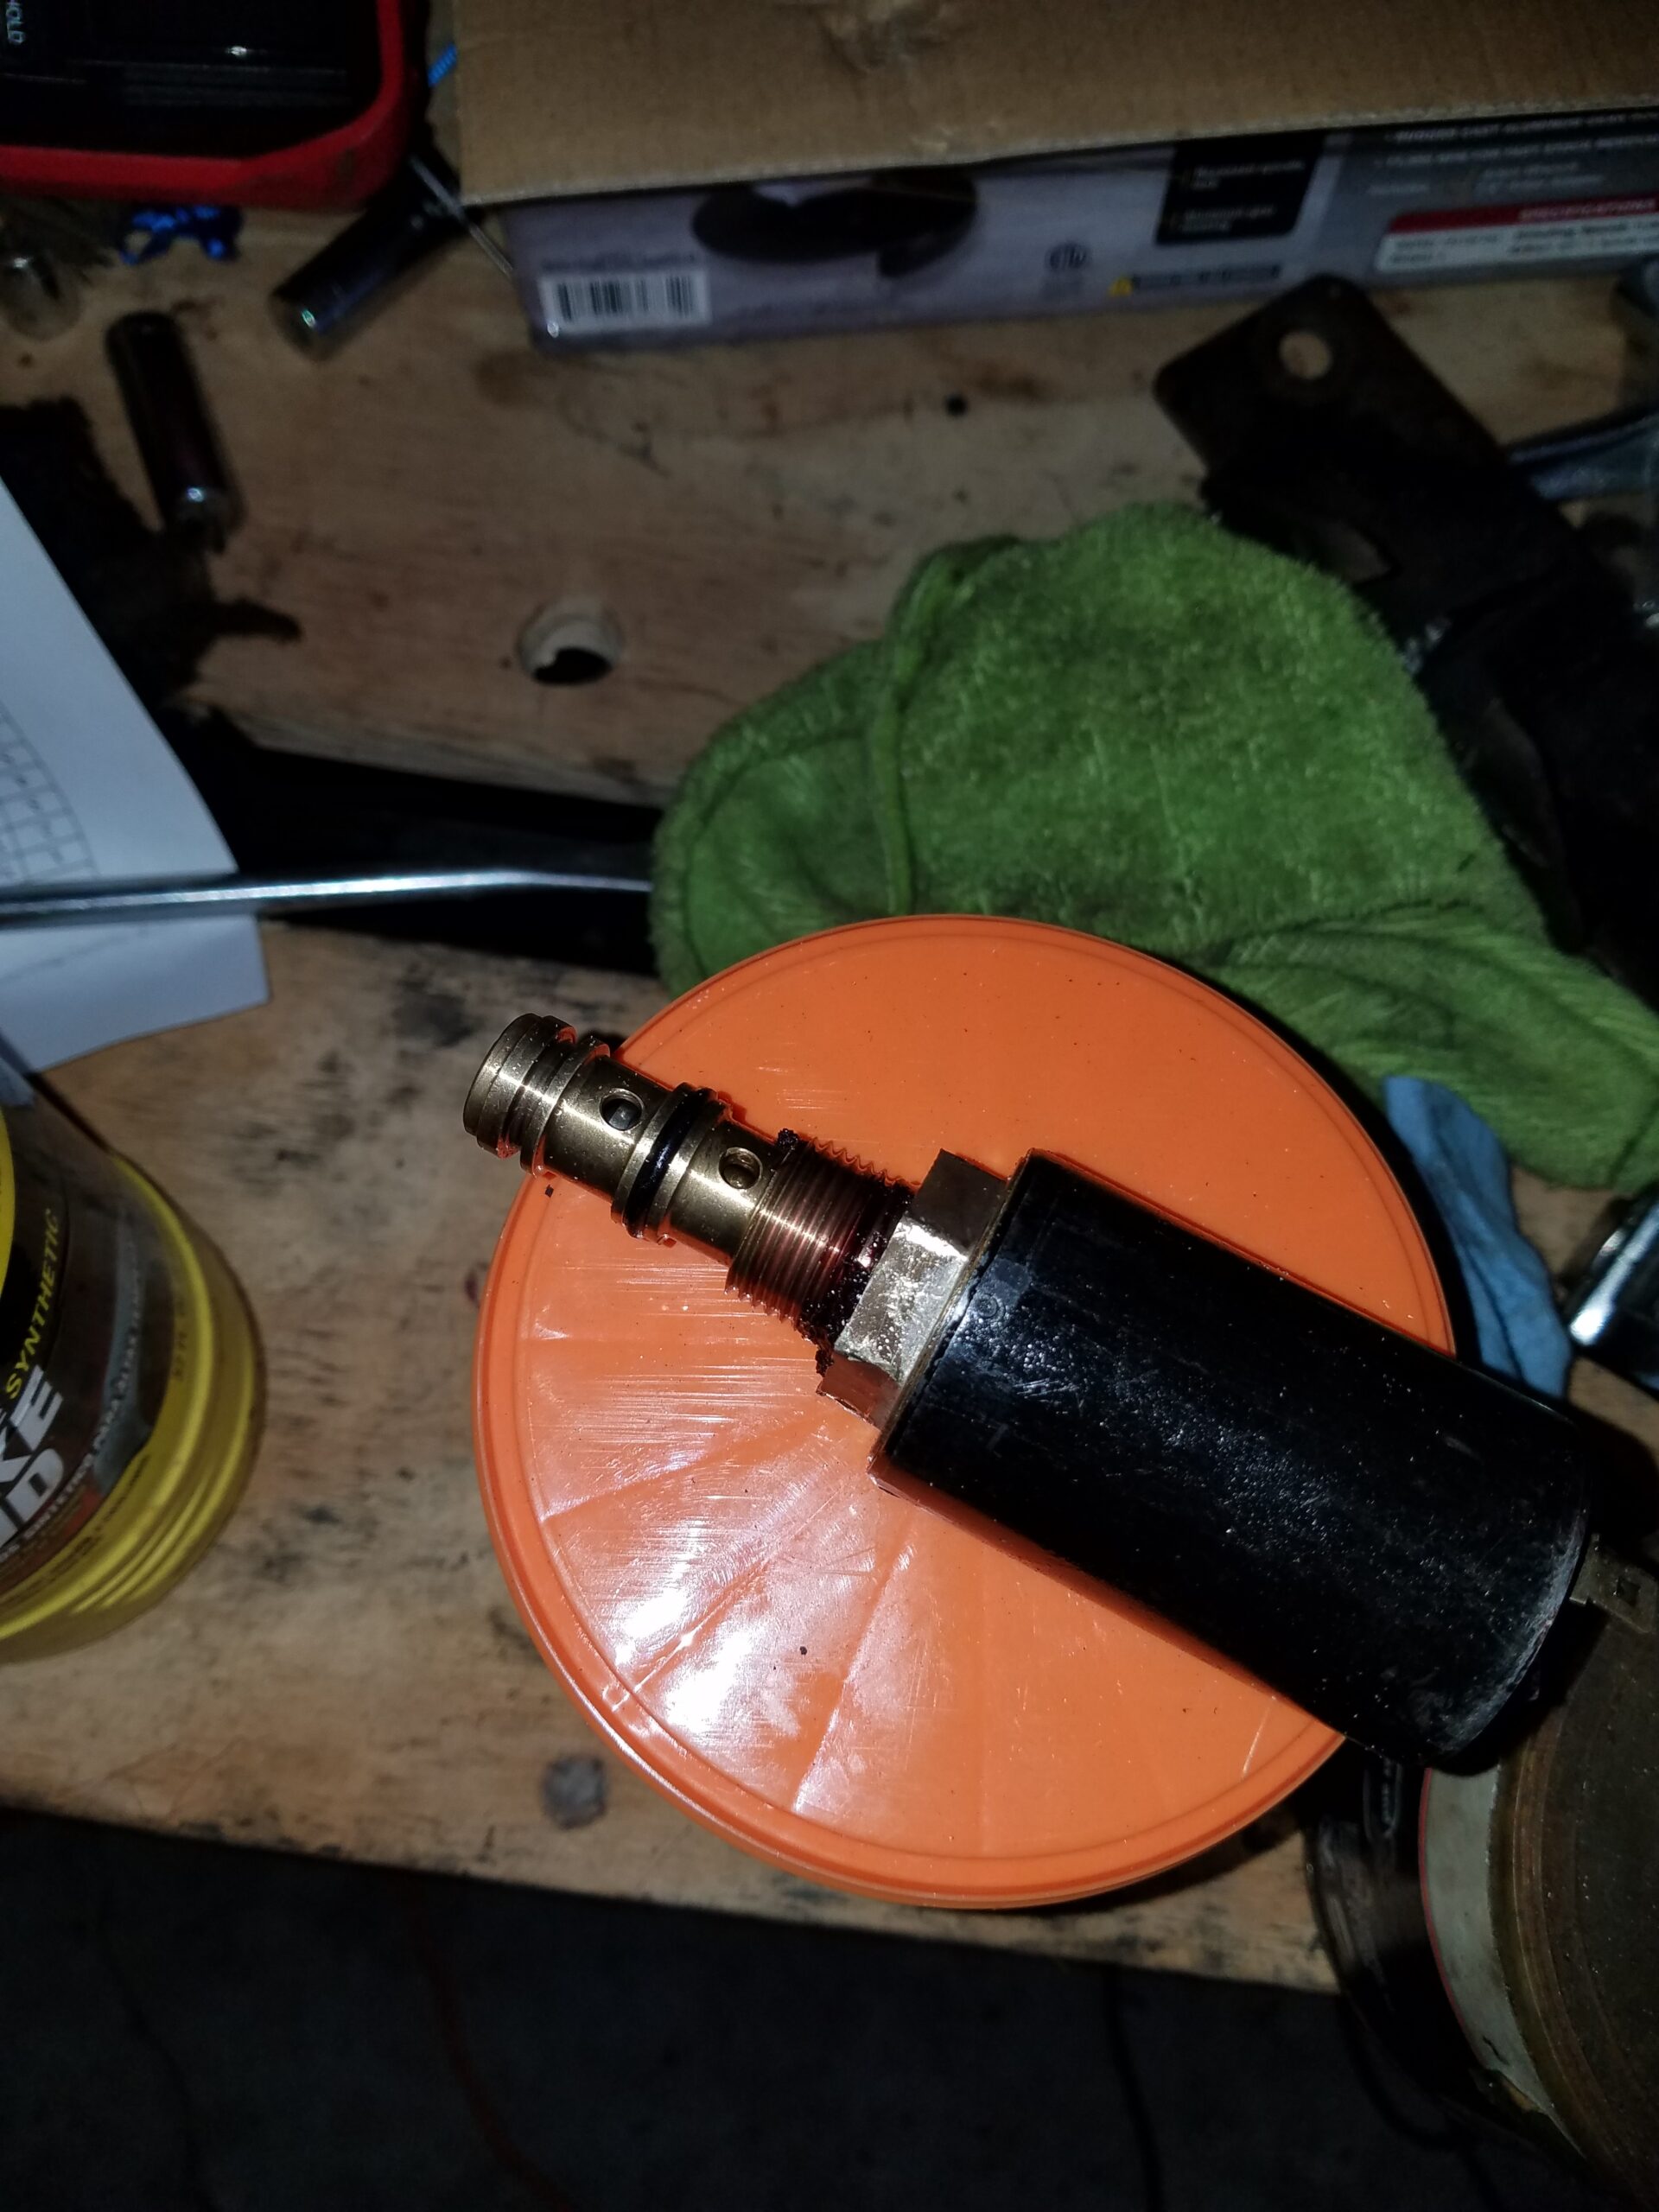
Hey guys, more of the same. If I could read, I could save myself a ton of misery. The o-rings I had on the solenoid were not the correct size. I have the correct ones ordered — since it is a size that I could not seem to source locally (014 I think). They should be here tomorrow, and test #3 will commence soon thereafter!
October 29, 2020
Still leaks, even with correct solenoid o-rings and washer. With some empirical study and research, it appears A) my transmission does not have a breather, and B) the J-Type OD does not have a breather like the A-Type does. Gonna try drilling a breather in the cover and see what that gets me!
Andy
November 1, 2020
Well, that didn’t bring the results I expected, still leaks. I felt sure I replaced all of the o-rings, so I went back through all of the print outs, and I think I missed one. On the Volvo/J-type OD Speedo drive, I know I replaced the ones on its outside, but there is also one inside that basically seals the speedo output with the plastic gears that mate to the inside of the OD. The drive shaft that turns the speedo cable. Thanks to no more DL savings time, I will prolly take a day of vaca and see if I can get it done later this week. But I’m not giving up!
Andy
Fri, Nov 13, 2020, 6:15 PM
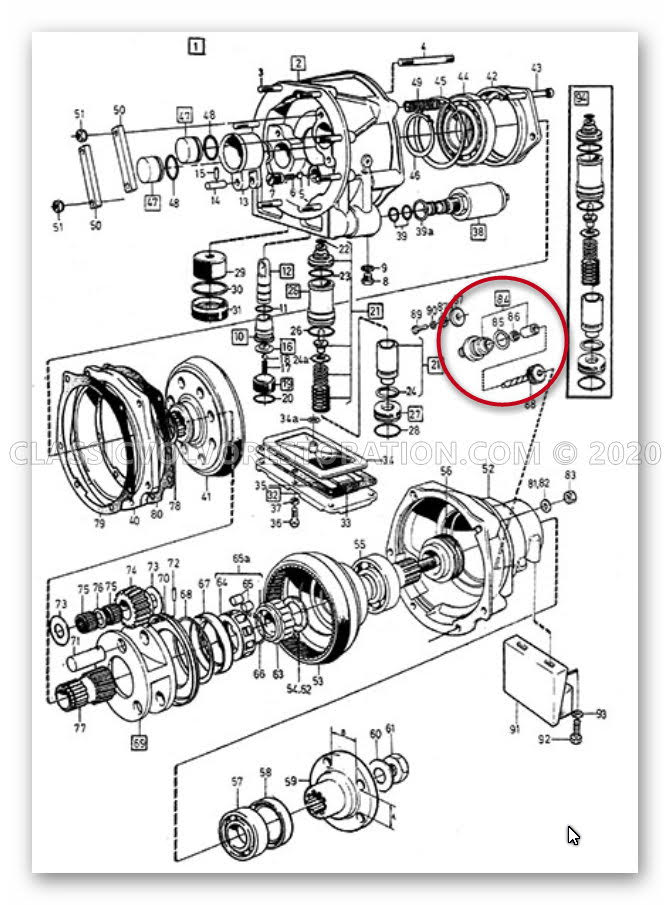
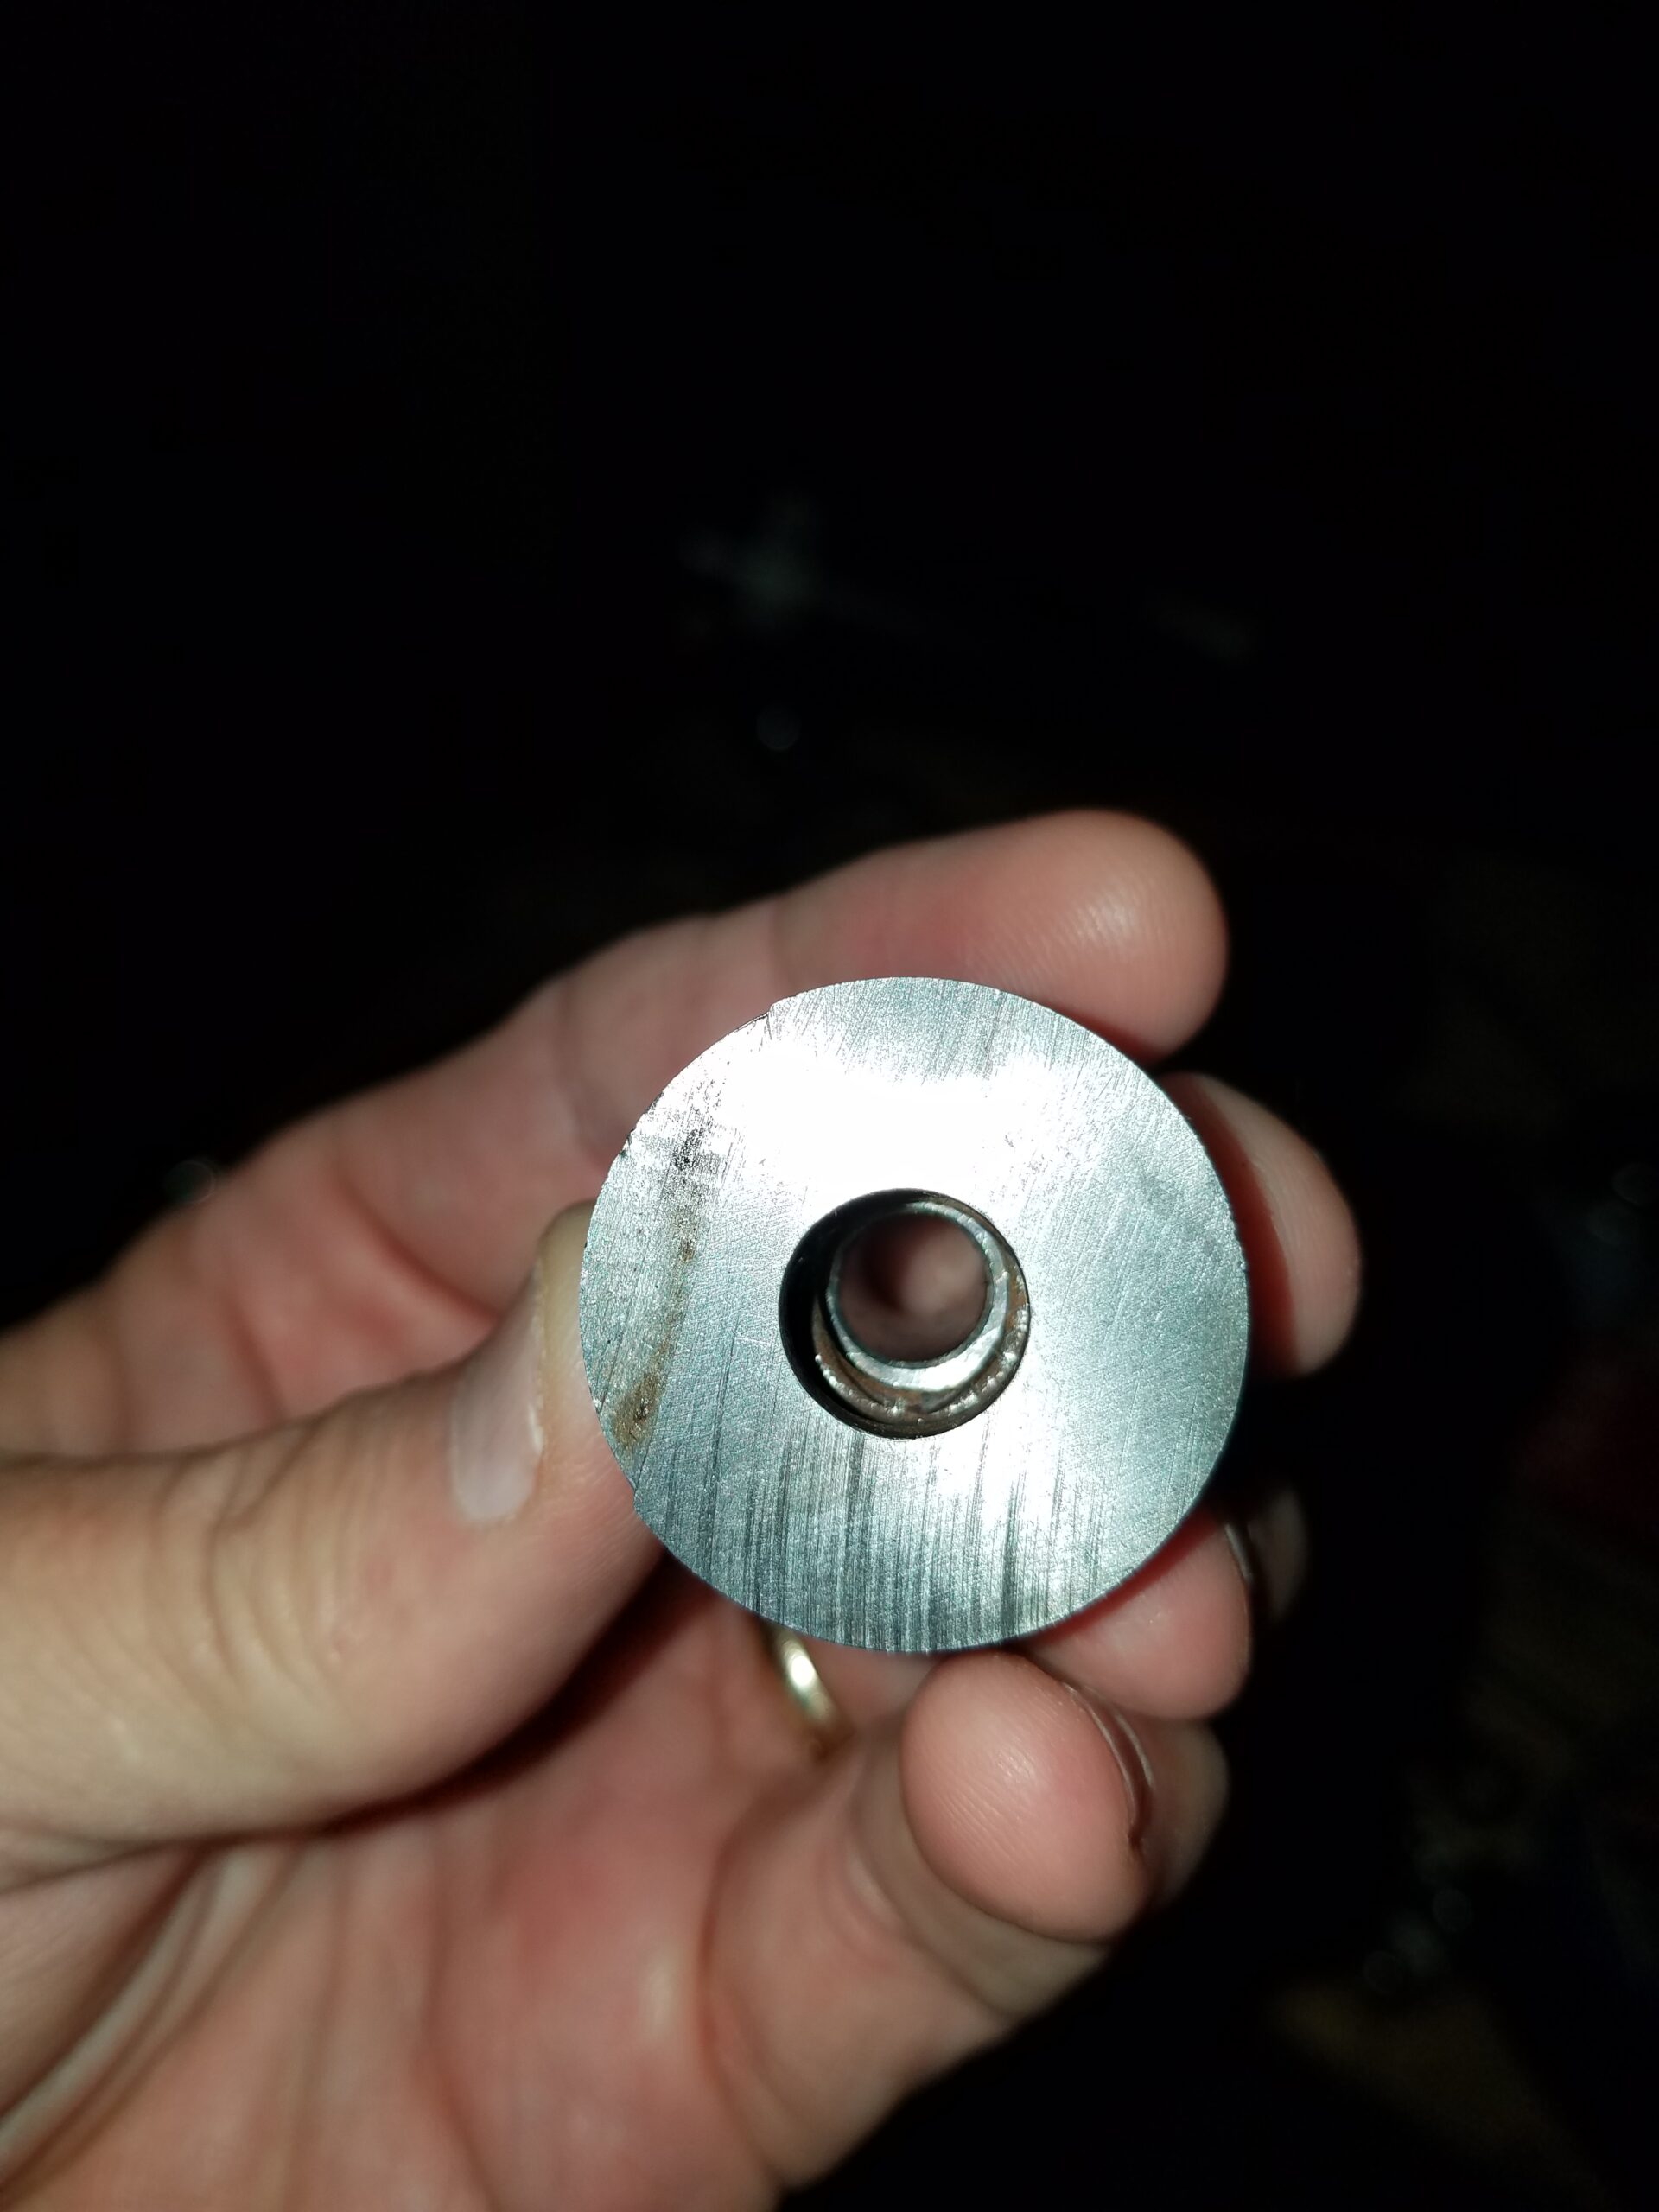
Volvo J type overdrive parts
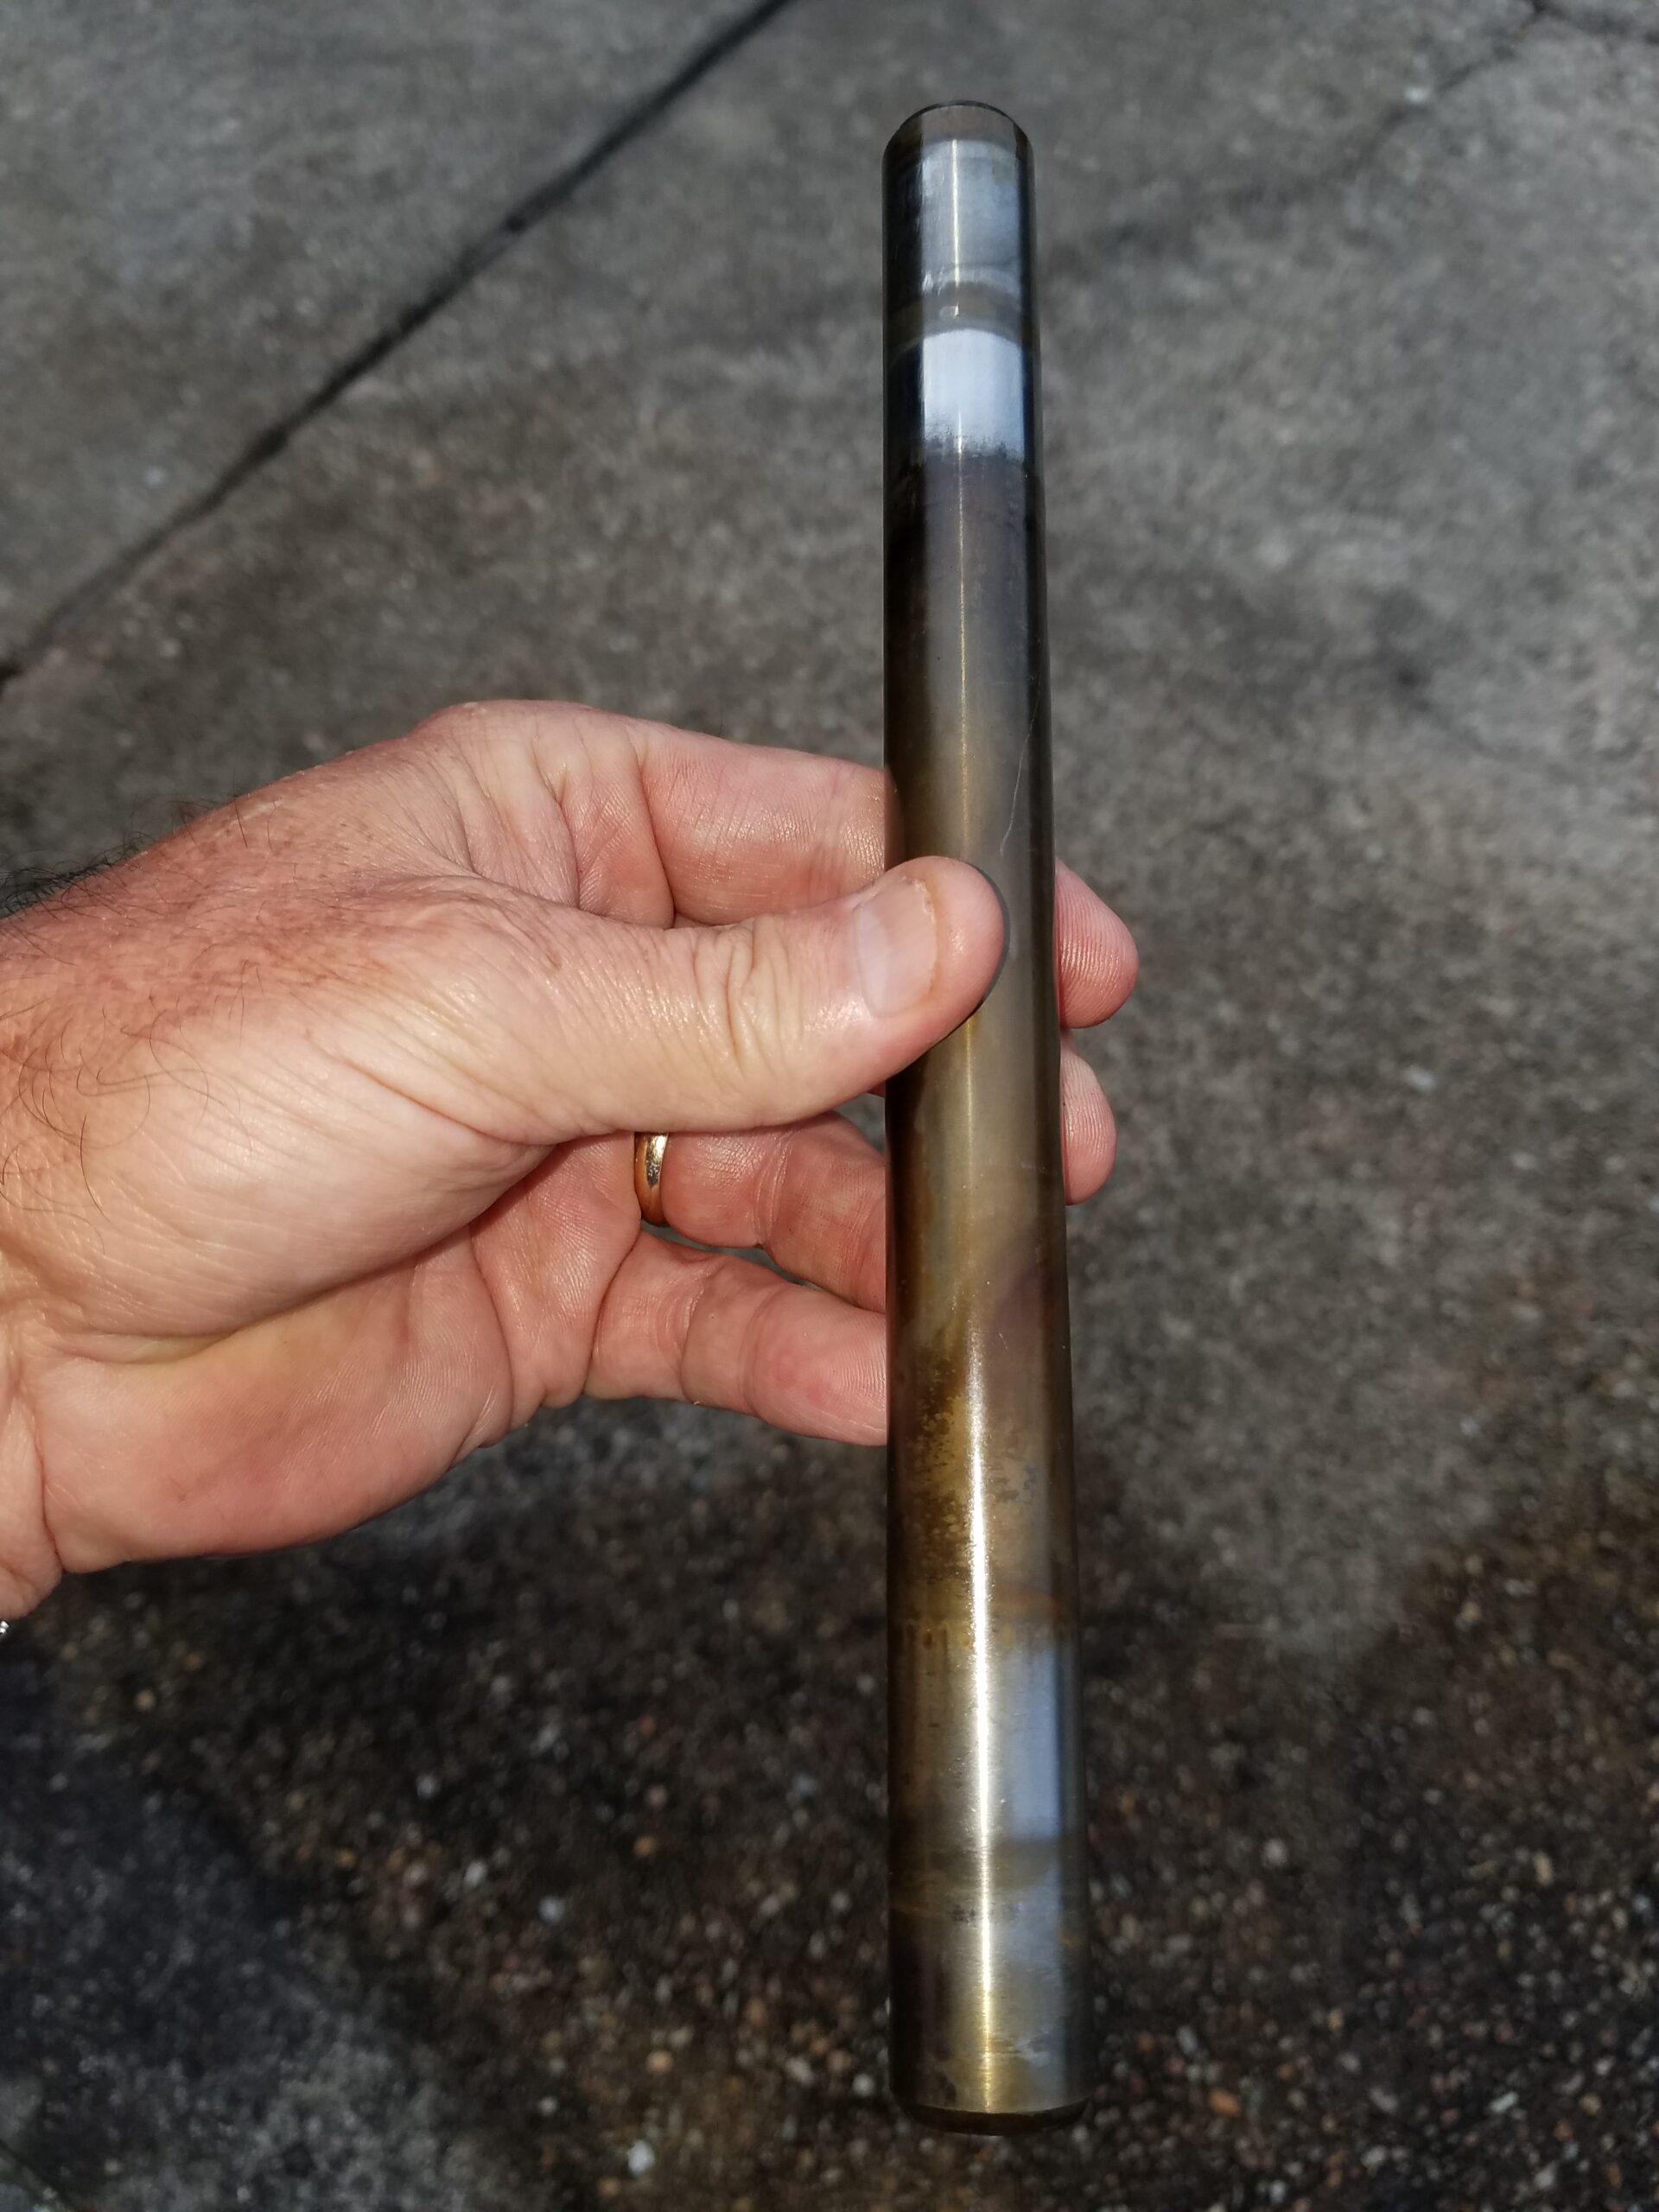
So…. Finally found the right seal, but it showed up but looked like the others — I had to be missing something — and I think I was. In the parts diagram, if one pays attention, looks like a sleeve that presses in. Then “Kapowee”, things start to look more better for reaching a solution. The other pics show the part with my finger painting to what should be the sleeve, then showing the other end that I will need to “press from”. The hole is 5/16″, so I need something smaller but not by much, so it will catch the edge of the sleeve when pressing. Ideas?
Fri, Nov 13, 2020 at 7:13 PM
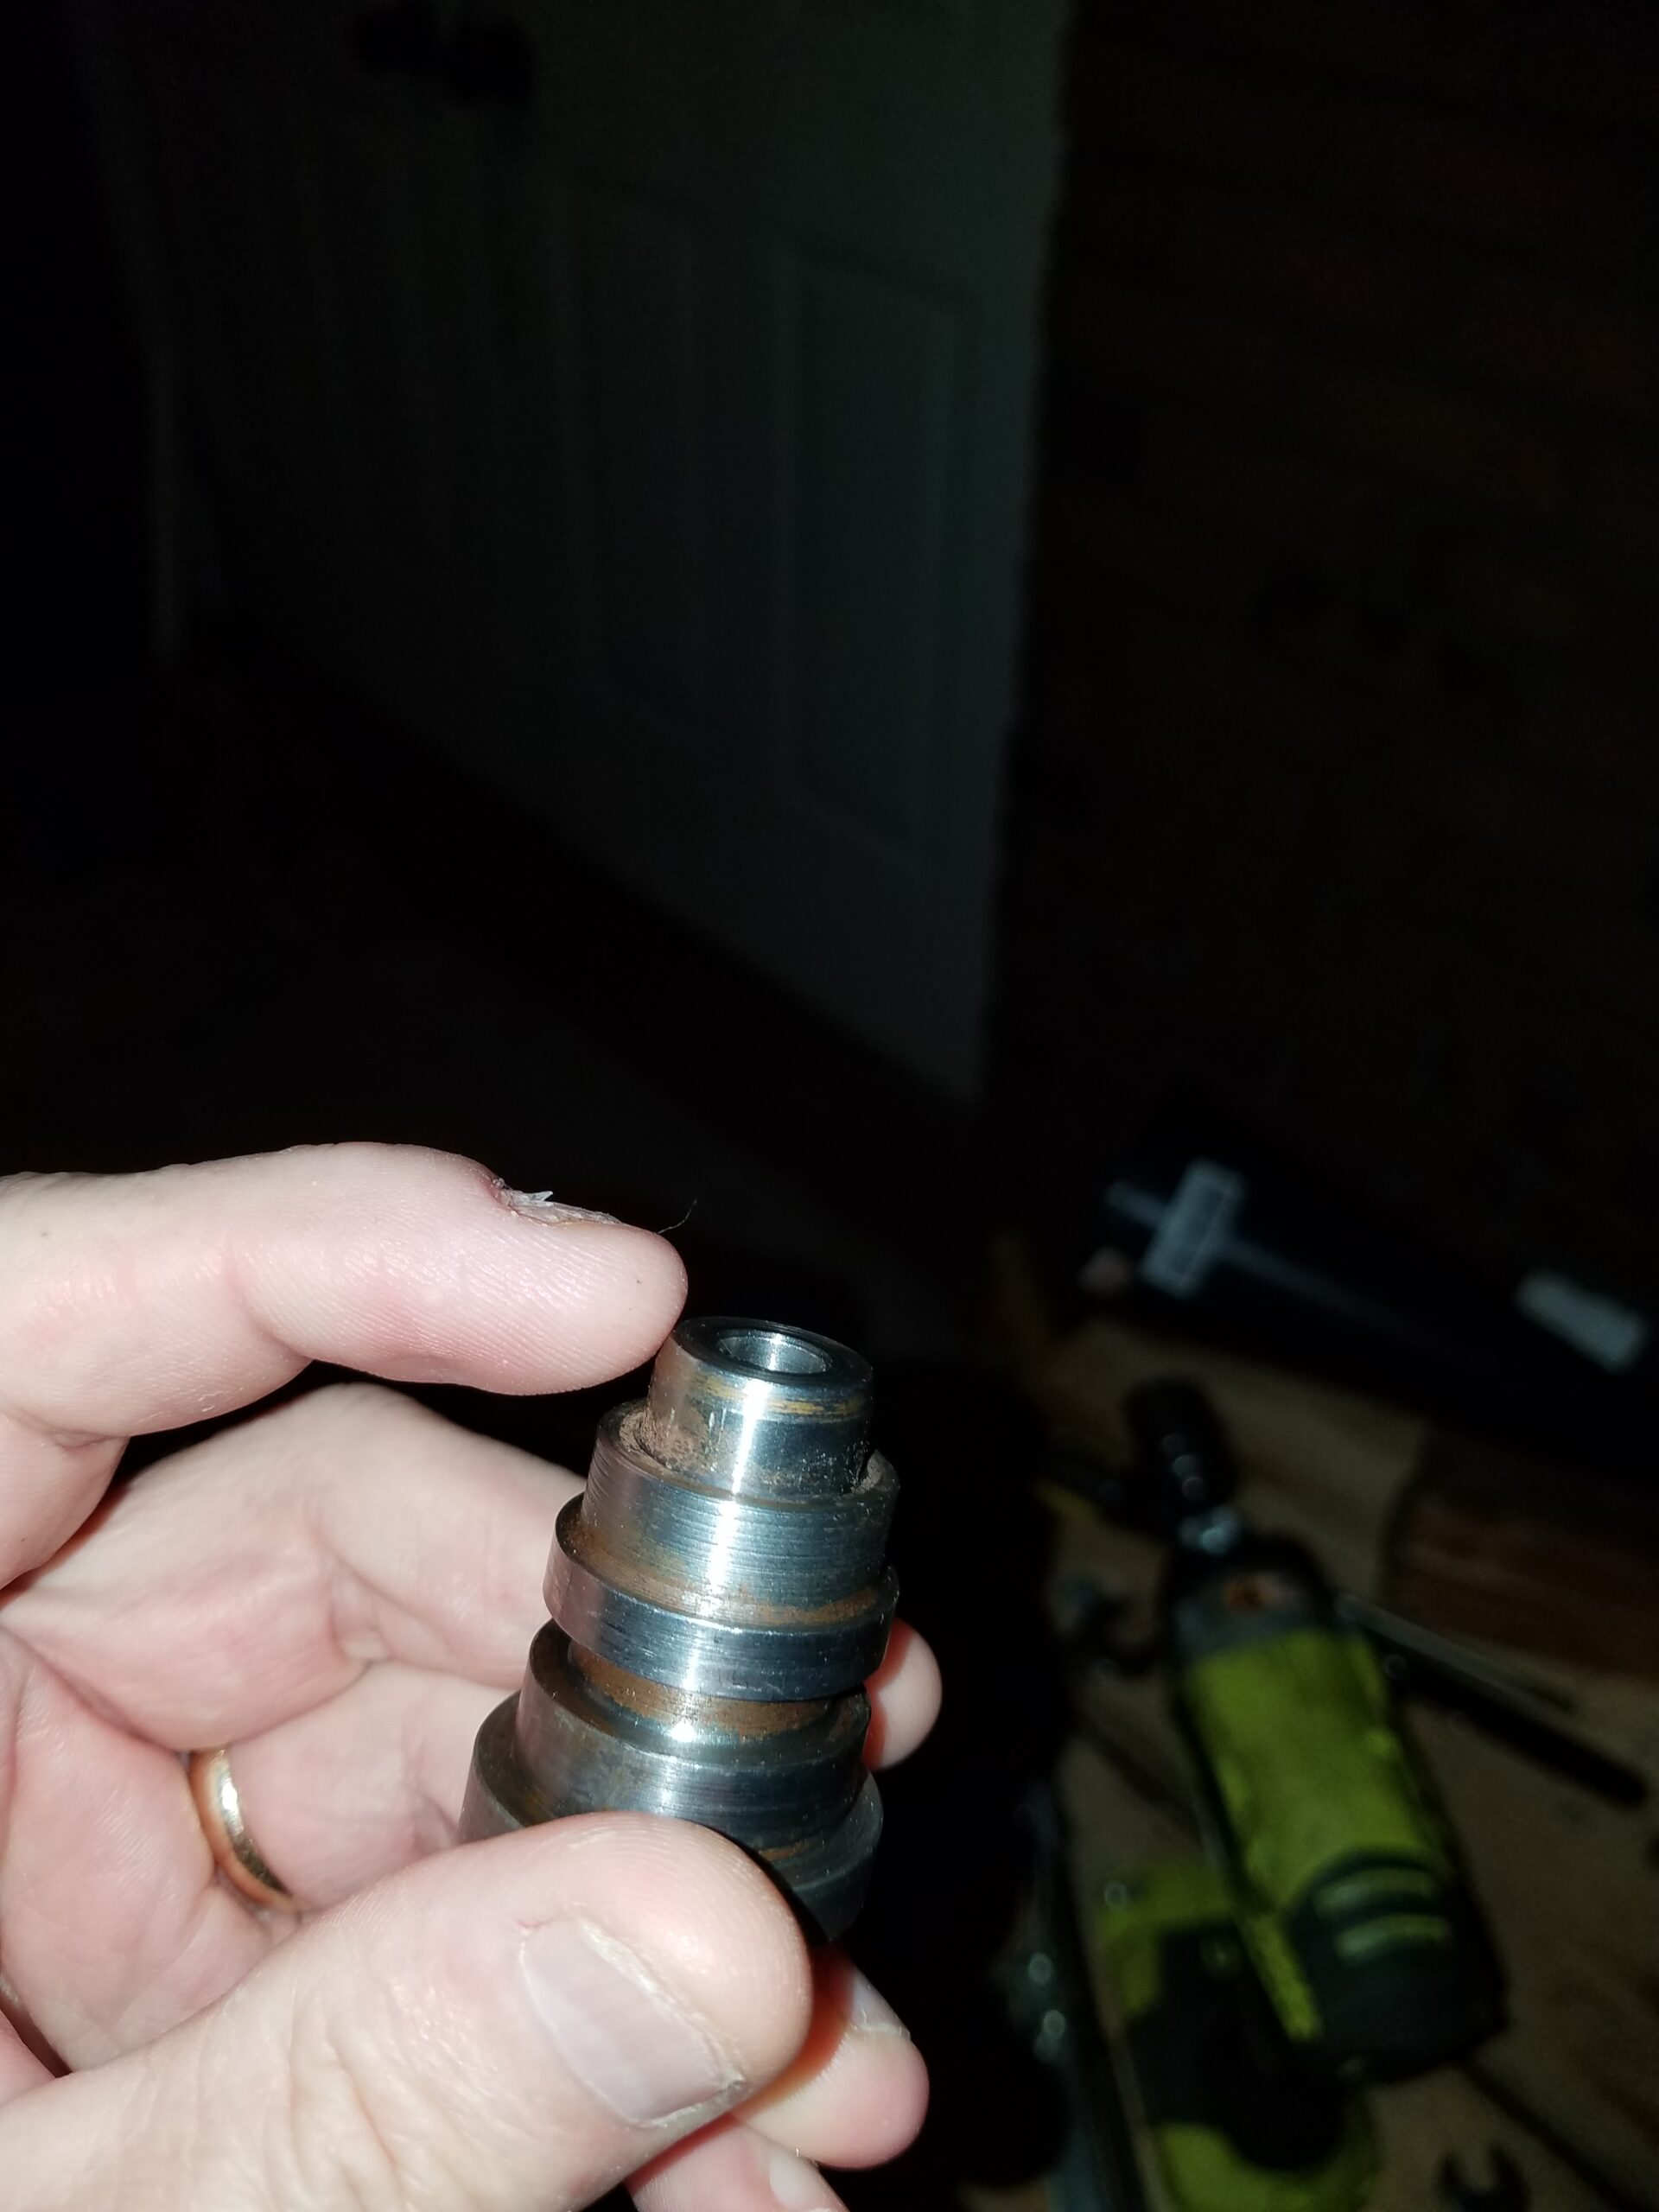 To clarify, the hole on the small end is 5/16. The other side is bigger. I have tried the things I have that will fit, I think it’s a 7mm driver that will fit, but 8mm will not. Put a 16mm socket over the other end and banged it a lot. No movement I can tell.
Sat, Nov 14, 2020 11:16am
Got it! Old school — stuck it in the freezer and that got me just enough to drift it off. Boogered up the end I was driving from, but that 5/16 bit and some sand paper work and the speedo drive turns nice and smooth again. And yes, was able to get the oil seal out. Hopefully back together this afternoon, and again, we will see….
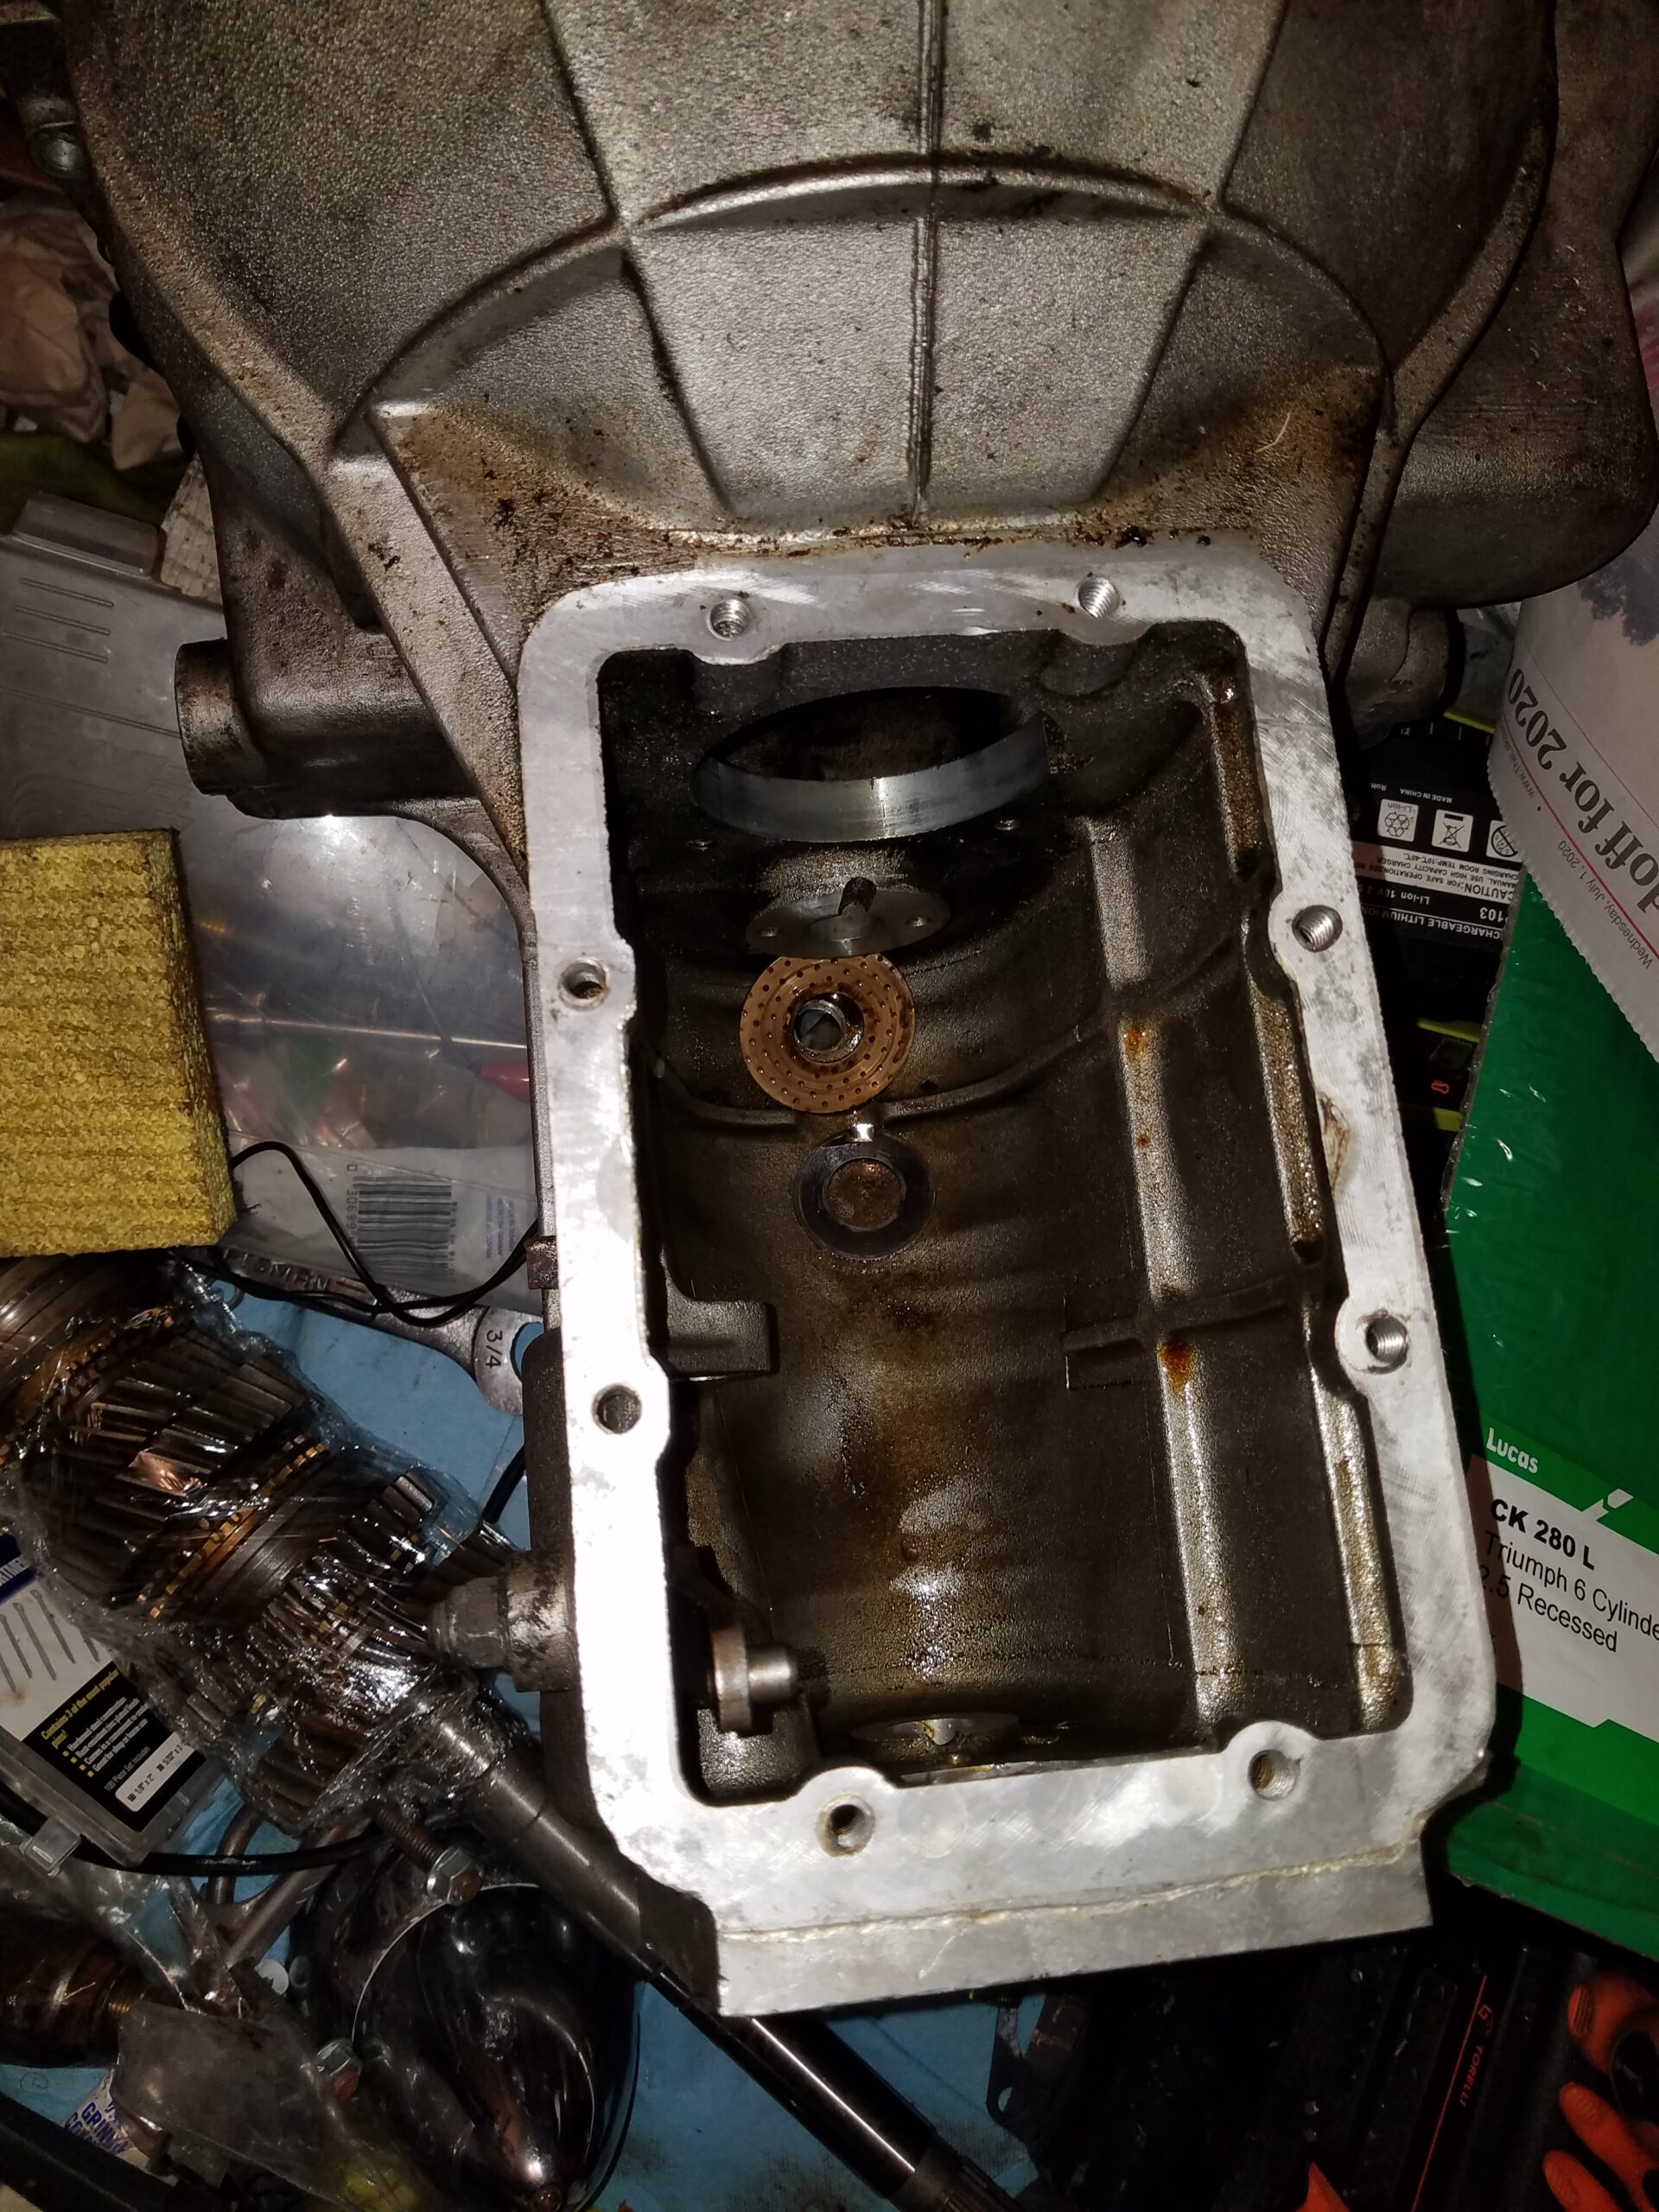
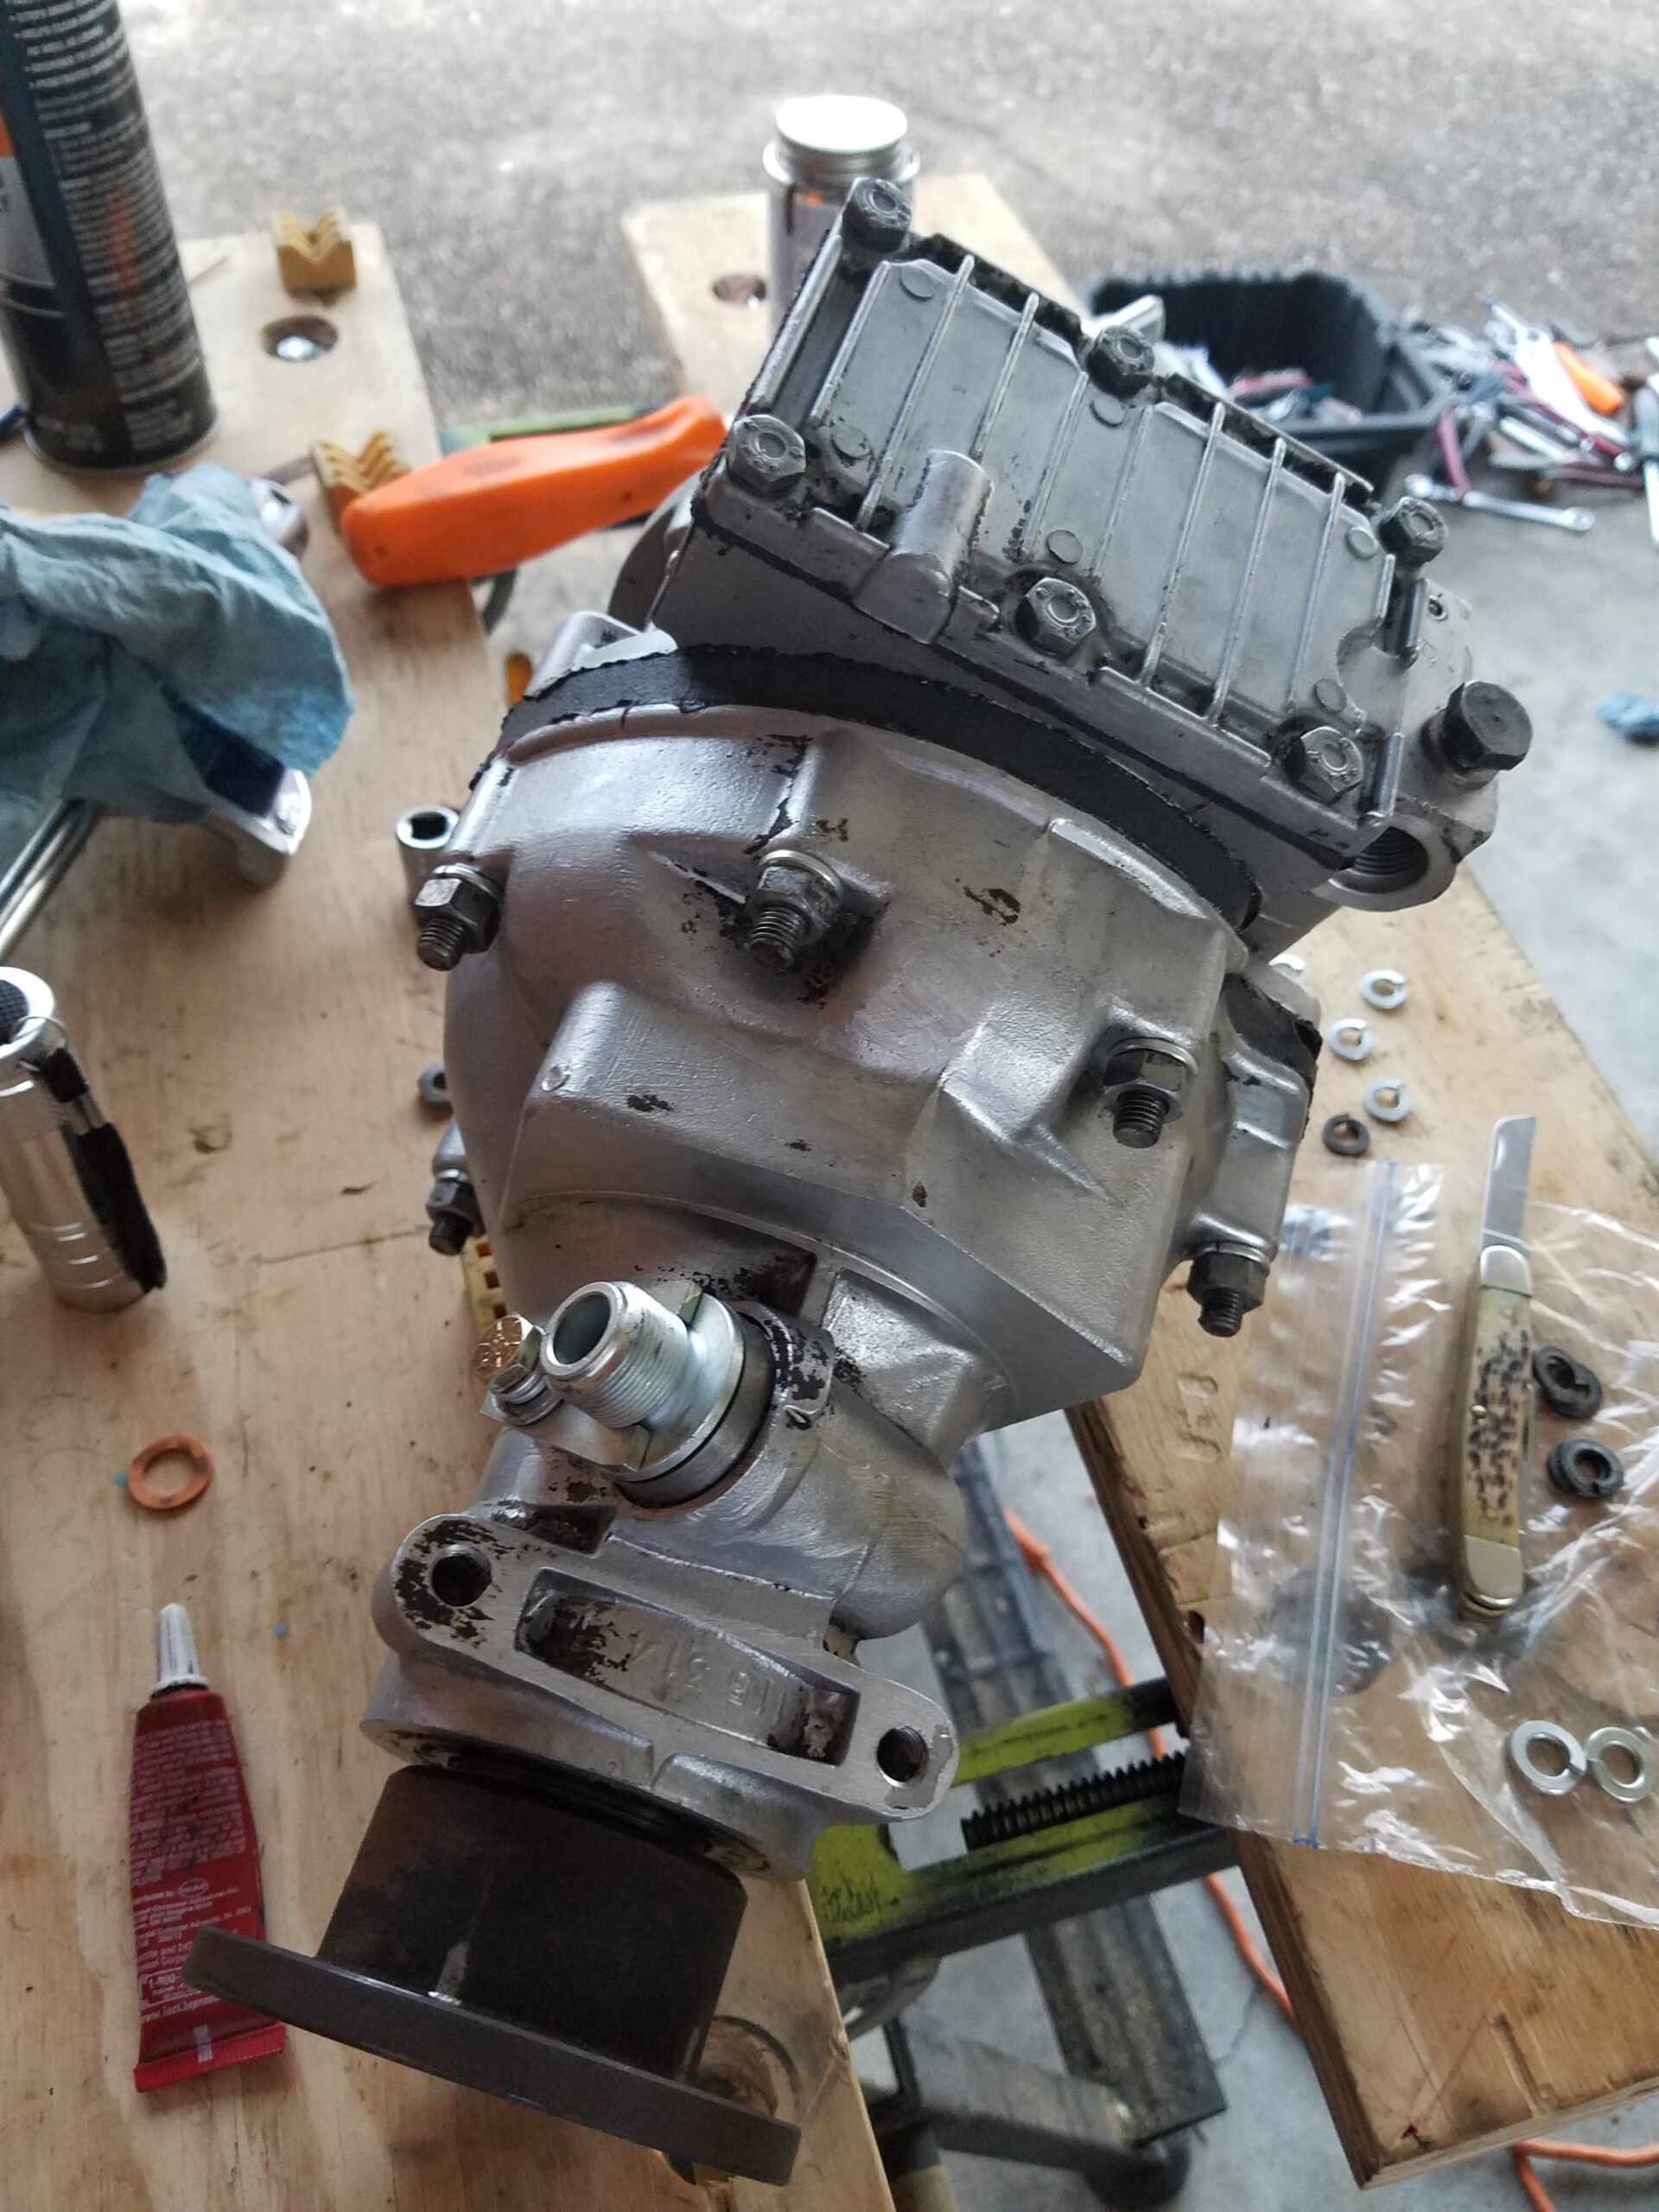
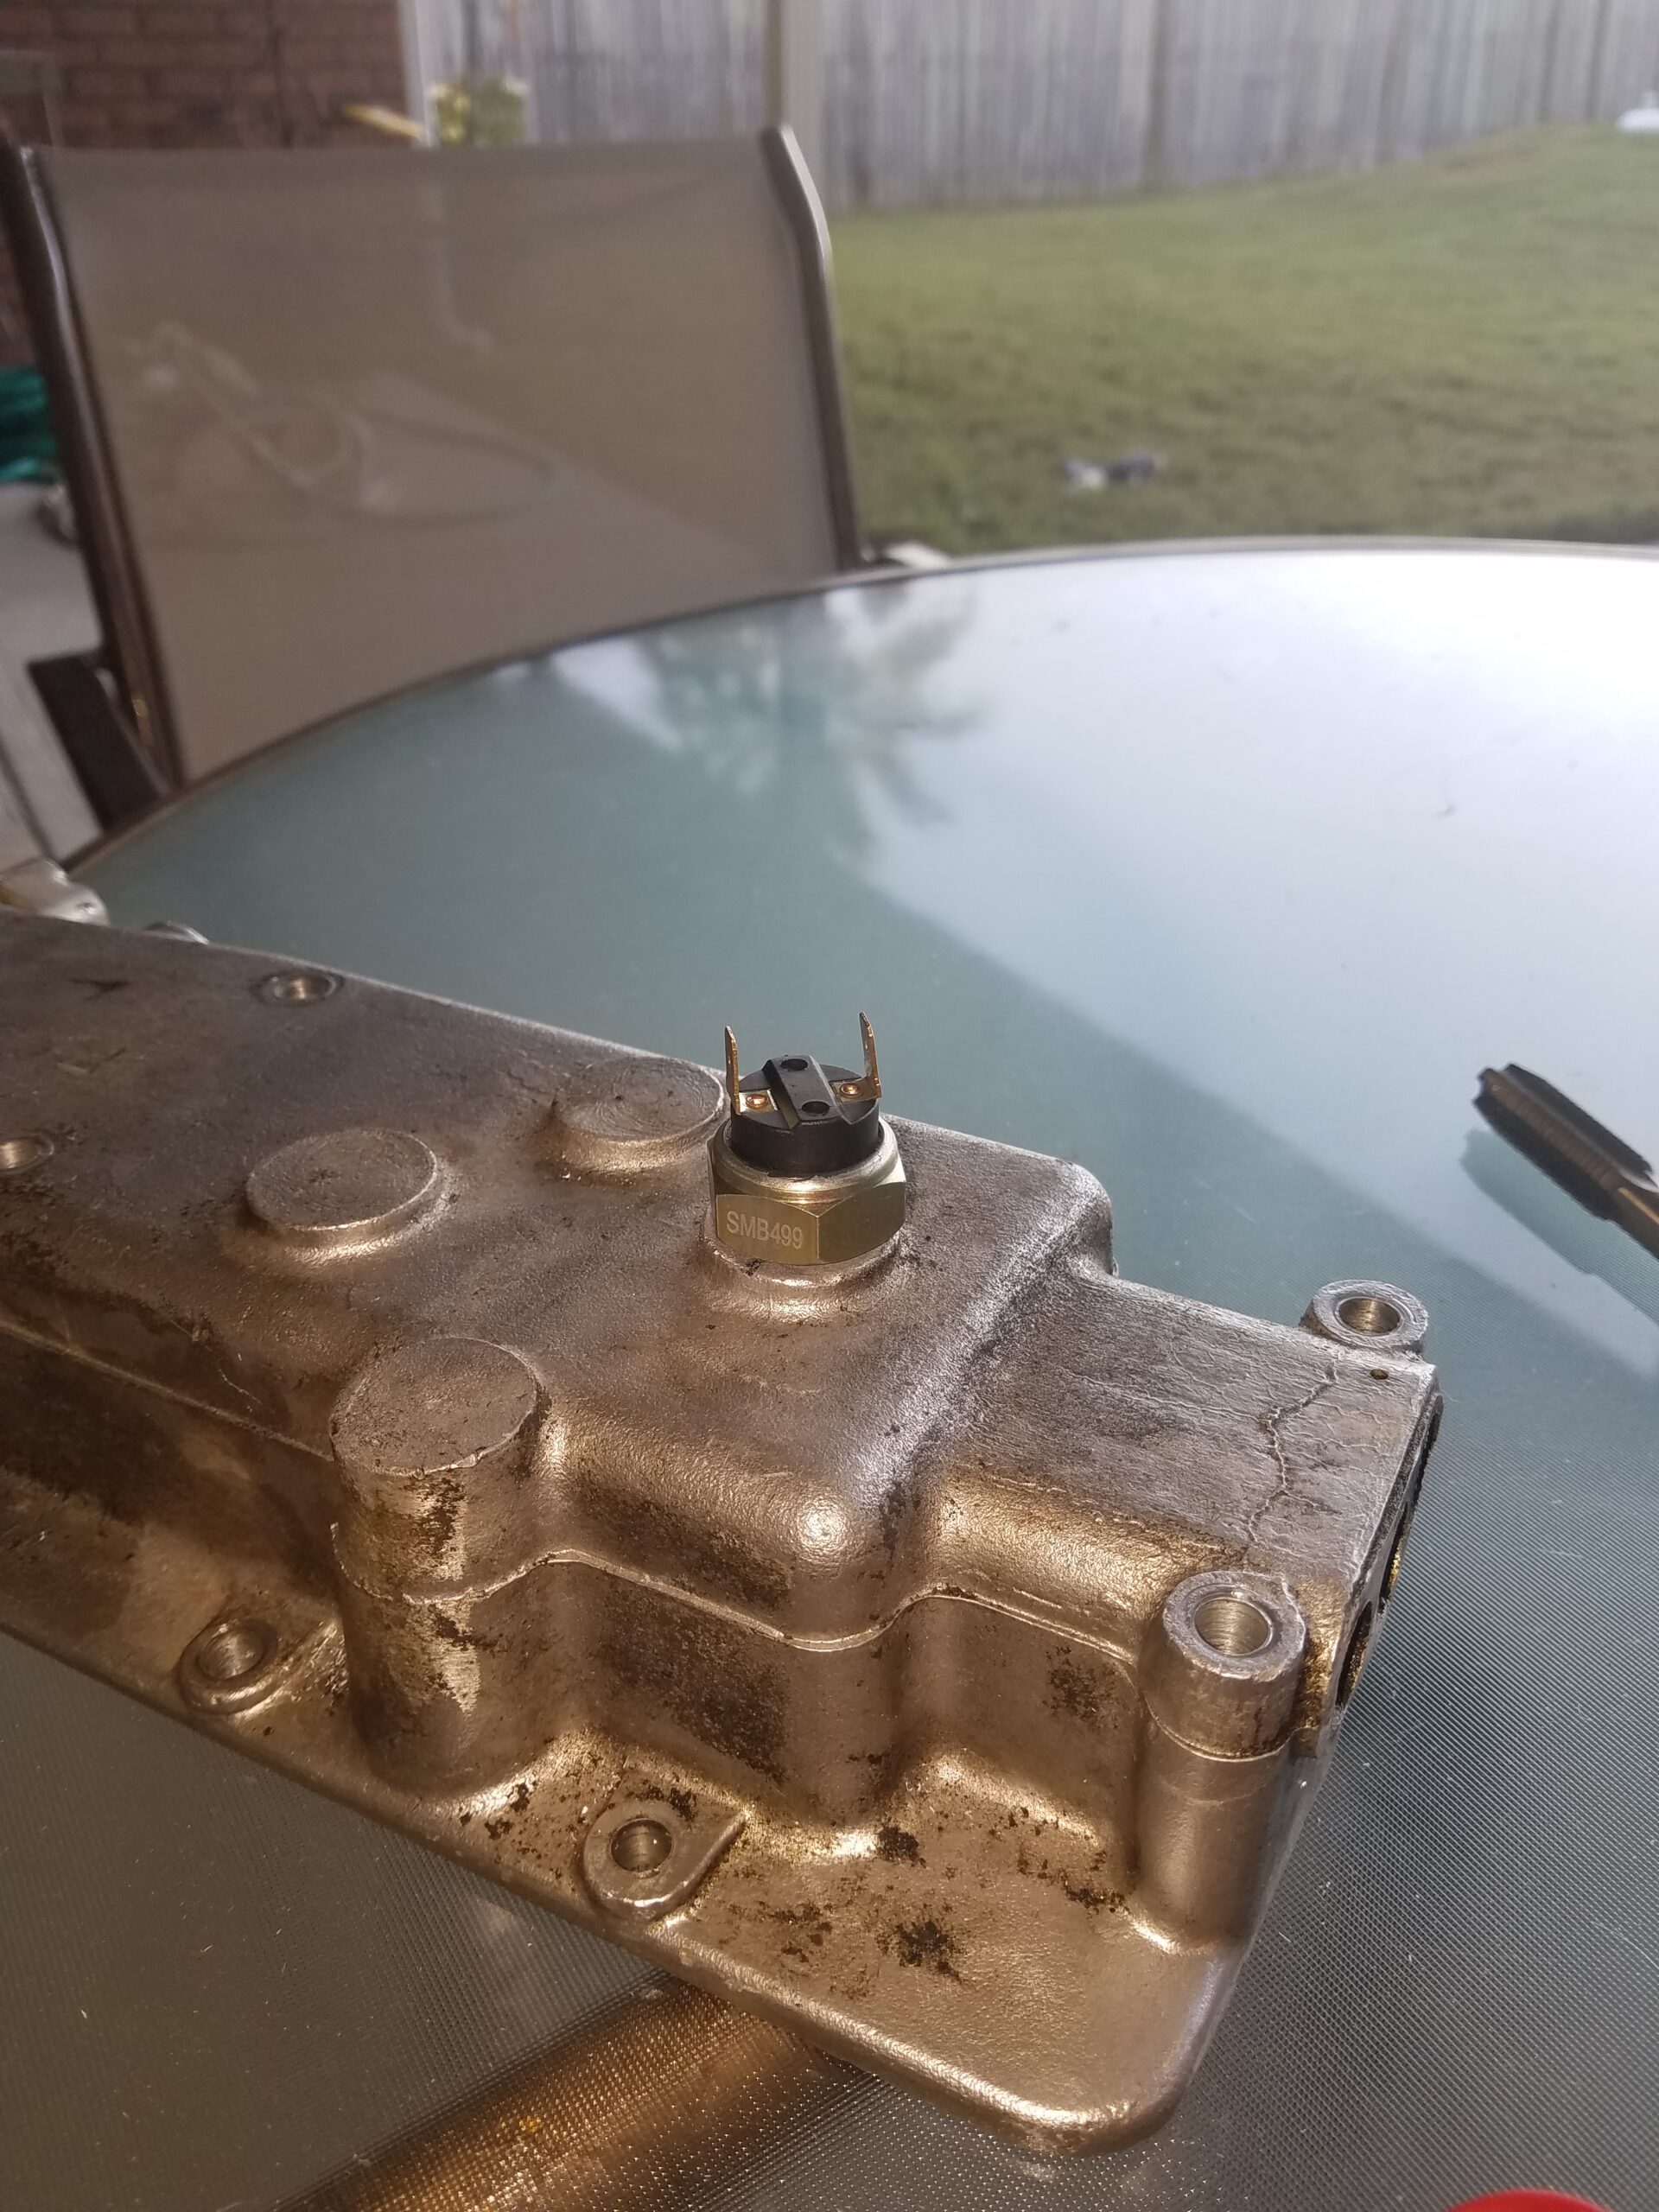
 Well, the speedo shaft oil seal finally got done. The test proved it still leaked, but not nearly as much as it was. Going down the road is not friendly when trying to find a leak source. Especially with an exposed drive shaft and tranny coupling. The wind eventually pushes the gear oil back and the coupling does a great job of flinging it everywhere. So I put sone jack stands under it to simulate the conditions as best I could. The only 2 places that appeared to leak were the 2 top rear casing nuts. I’m pointing to one in the pic below. So I took them off one at a time and put my favorite sealant where the threads and casing meet, and on back about 4 or 5 threads. I plan to give her another jack stand test run tomorrow at lunch. Maybe by Christmas….
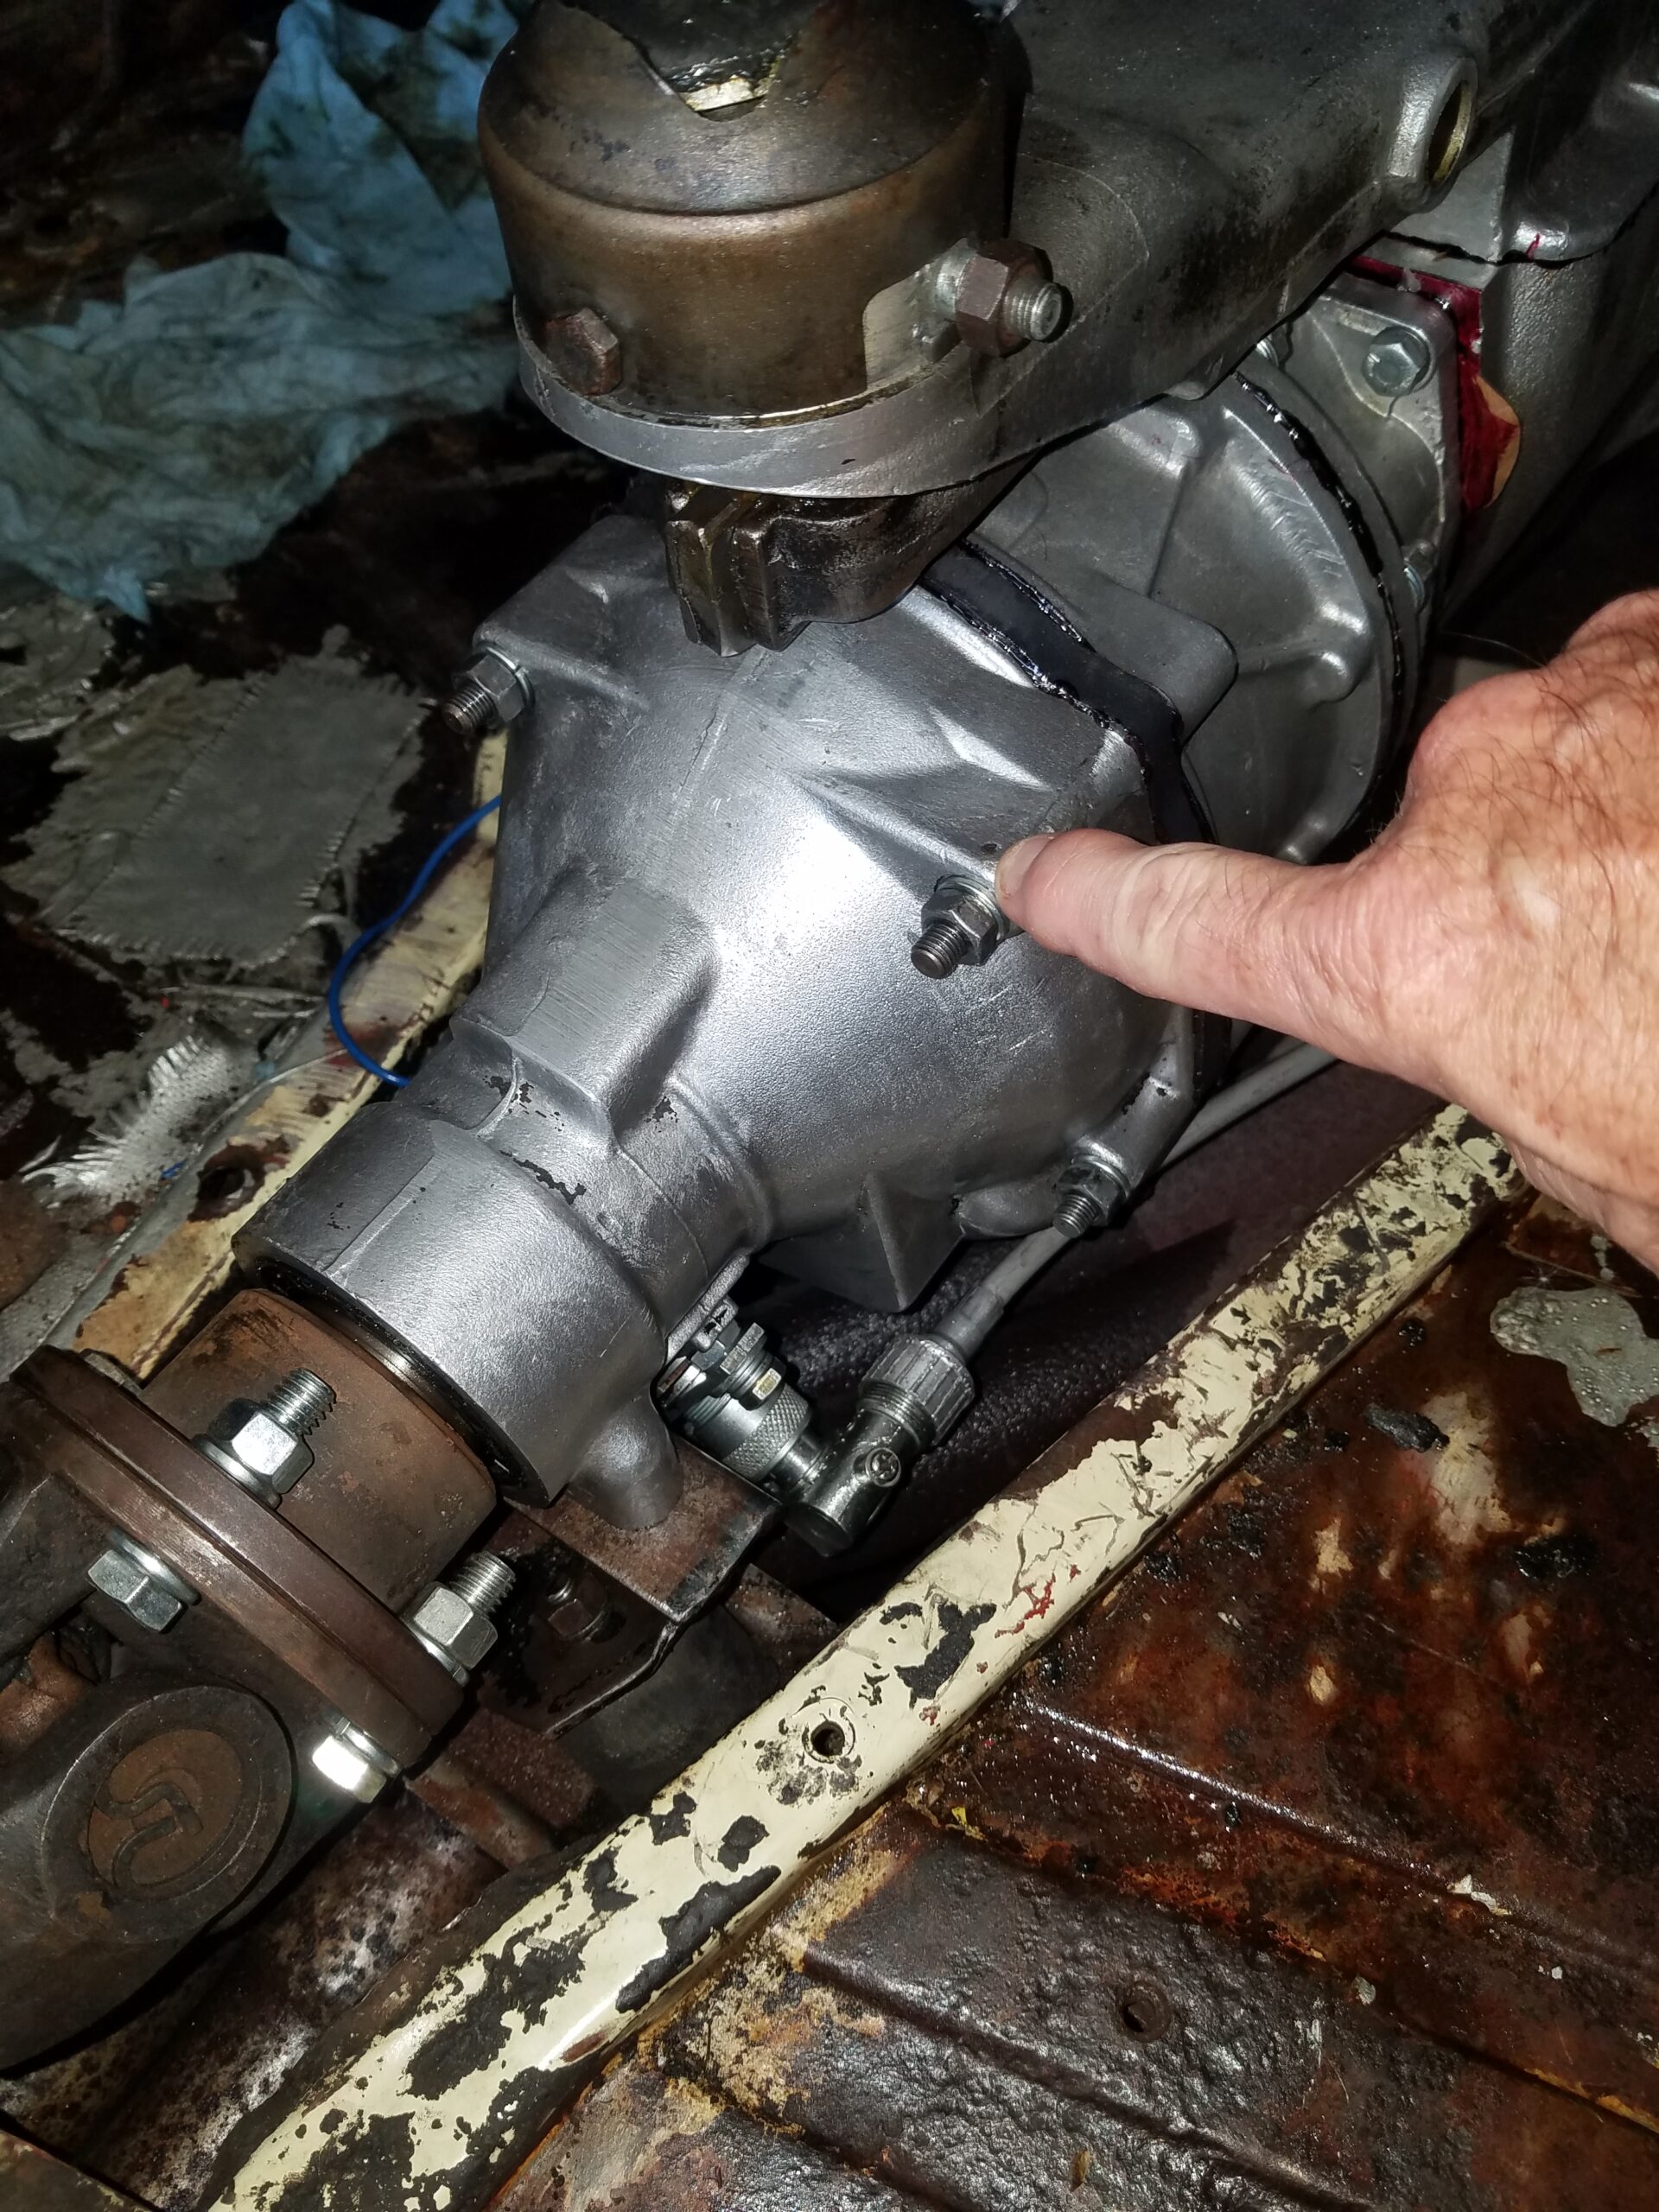
Quick update, lunch test went well, ran at about 45 MPH for 25 minutes in the car port, and no leaks. Will road test longer this coming weekend.
Good news. I snuck away from work early today to test again, and all good. No leaks after about 30 minutes of 60 to 70 mph driving. And a short vid below of the OD in action. Thanks for letting me vent and listening in along the journey.
Andy